
How to Raise a Queen: Tips on Honey Bee Queen Making
By Bob Fassbinder and Dr. Carol Fassbinder-Orth
Target audience: Beekeeping enthusiasts with an interest in learning how to raise their own queens

Carol with a frame of queen cells in 1990.
Synopsis: The techniques described here may be found in “Contemporary Queen Raising” by Harry Laidlaw or “Queen Rearing and Bee Breeding” by Harry Laidlaw and Robert Page. The fundamentals can be found in these two books, but as with many things in life, there are many little things that can make the difference between failure and success. Below is a list of "little things” that Bob and Carol have learned through their 75 years of combined commercial beekeeping and scientific research experience that have enabled us to successfully raise thousands of healthy queens.
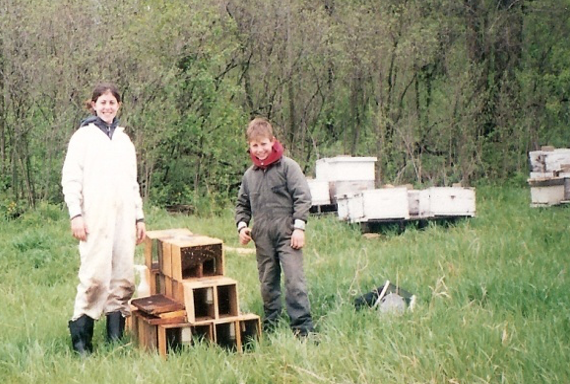
Carol and her brother Mat, installing package hives at a beeyard in the late 1990’s.
Why would you want to raise your own queens? The reality of modern day beekeeping of European honey bees (Apis mellifera) in many parts of the world is that we lose a lot of bees every year. In Iowa over the past 5 years, the average annual loss in our operations has been between 35-70%. How do you make new colonies to make up for those losses each year? If you buy packages of bees (a screened wooden cage with a mated queen and 3 lbs of bees) it will cost you approximately $175 per package. Packages take a significant amount of time to build in size because there is no brood (and therefore no new bees) for at least 21 days after transferring your package to its new hive. You can get a small nucleus (nuc) hive for about $200-$300, depending on the size, which has a mated queen, brood, and several pounds of bees. However, the significant cost of nucs can make it too expensive for many.

Carol, Mat, and Kathy Fassbinder next to a trailer of nuc hives and single hives that the family made in Carthage, Mississippi in the early spring and brought back to Iowa to help increase their colony numbers after the Varroa mites hit in the early 1990’s.
Commercial beekeepers often do a mix of splitting their own hives and buying packages when necessary. To split your own hives, you must have a new queen to put in the split hive. Mated queens cost between $25-$60, depending on the breed and source. Alternatively, you can grow your own queens to save money and have control over the types of queens you will produce.
GLOSSARY OF ESSENTIAL TERMS
Queen- As with other social insects (like ants), the queen is the primary reproductive female of the hive.
Worker- The non-reproductive females of the hive that perform the various work functions of the hive, including foraging for pollen, nectar, and propolis, caring for brood, caring for the queen, building beeswax, and guarding the entrance of the colony
Drone- The males of the colony. Their primary function is to mate with the queen during aerial mating flights. They do not perform any other known essential tasks in the hive and are usually killed before winter.
Frame- In modern day beekeeping, beehives are usually constructed of wooden Langstroth hives with wooden frames that hold sheets of hexagonal foundation that the bees add beeswax to in order to build their comb.
Grafting-The process by which young worker larvae are moved to fabricated (usually plastic) queen cell cups with a royal jelly mixture to grow queen cells
Starter Hive- There are many ways to graft queens, but the method described here uses a “Shook Starter”, where a brood chamber’s worth of bees is shaken into a 5 frame nuc box (without a queen), and the grafted cells are put into the starter (in the dark) for 36 hrs to “start” the queen cells. The starter hive must be VERY STRONG and free of obvious diseases.
Builder Hive-A builder hive must finish the starter queen cells. Queen cells will remain in the builder hive until the day before they hatch. The builder hive must be VERY STRONG and free of obvious diseases.
Breeder Hive- This is the hive that you will take your female larvae from to build your queens. It should be a model hive: vibrant, disease resistant, high honey production, and gentle if possible.
Royal Jelly-A nutritious secretion from the hypopharyngeal glands of the honey bees and contains vital nutrients as well as probiotic bacteria. It is used to feed both developing queen larvae and adult queens.
Nucs- Also called “nucleus” hives, nucs are small splits of the parent hive into small 4-5 frame boxes that include several frames of brood and also pollen and honey from a parent hive, together with a new queen.
GETTING STARTED
First, you shouldn’t make your own queens if you only have one or two isolated hives. Why? First, multiple hives are ideally required to build your cells. Additionally, where will the drones come from to mate with your queens? If you only have one or two hives, the chances of inbreeding and poor resulting queen performance are strong. Ideally, you would have at least 5 hives, but preferably at least 10 hives within a mile of your colonies to provide a diverse drone source to mate with your queen. These don’t have to be your colonies, but they have to be hives that you would want to have as a drone source.
Regarding your queen cell raising, you must have at least 2 VERY STRONG hives. One will be the starter hive and one will be the builder hive. Either one can be chosen to be the breeder hive. So, ideally you would have 10 hives total, including a breeder hive and a starter and a builder hive to make queens.
Time your queen raising with the first hatching of drones
The strongest colonies produce brood the soonest, so this means your queens will mate with drones from your best hives. Queens can mate with up to 40 drones (Schlüns, 2005), Drones do not survive in the colony through the winter months and if there are no drones available when a queen hatches, you will have sterile or sub-par queens and your new colonies will not develop. DO NOT START GRAFTING UNTIL DRONES START HATCHING.
Starter and Builder hives should be headed by second year queens
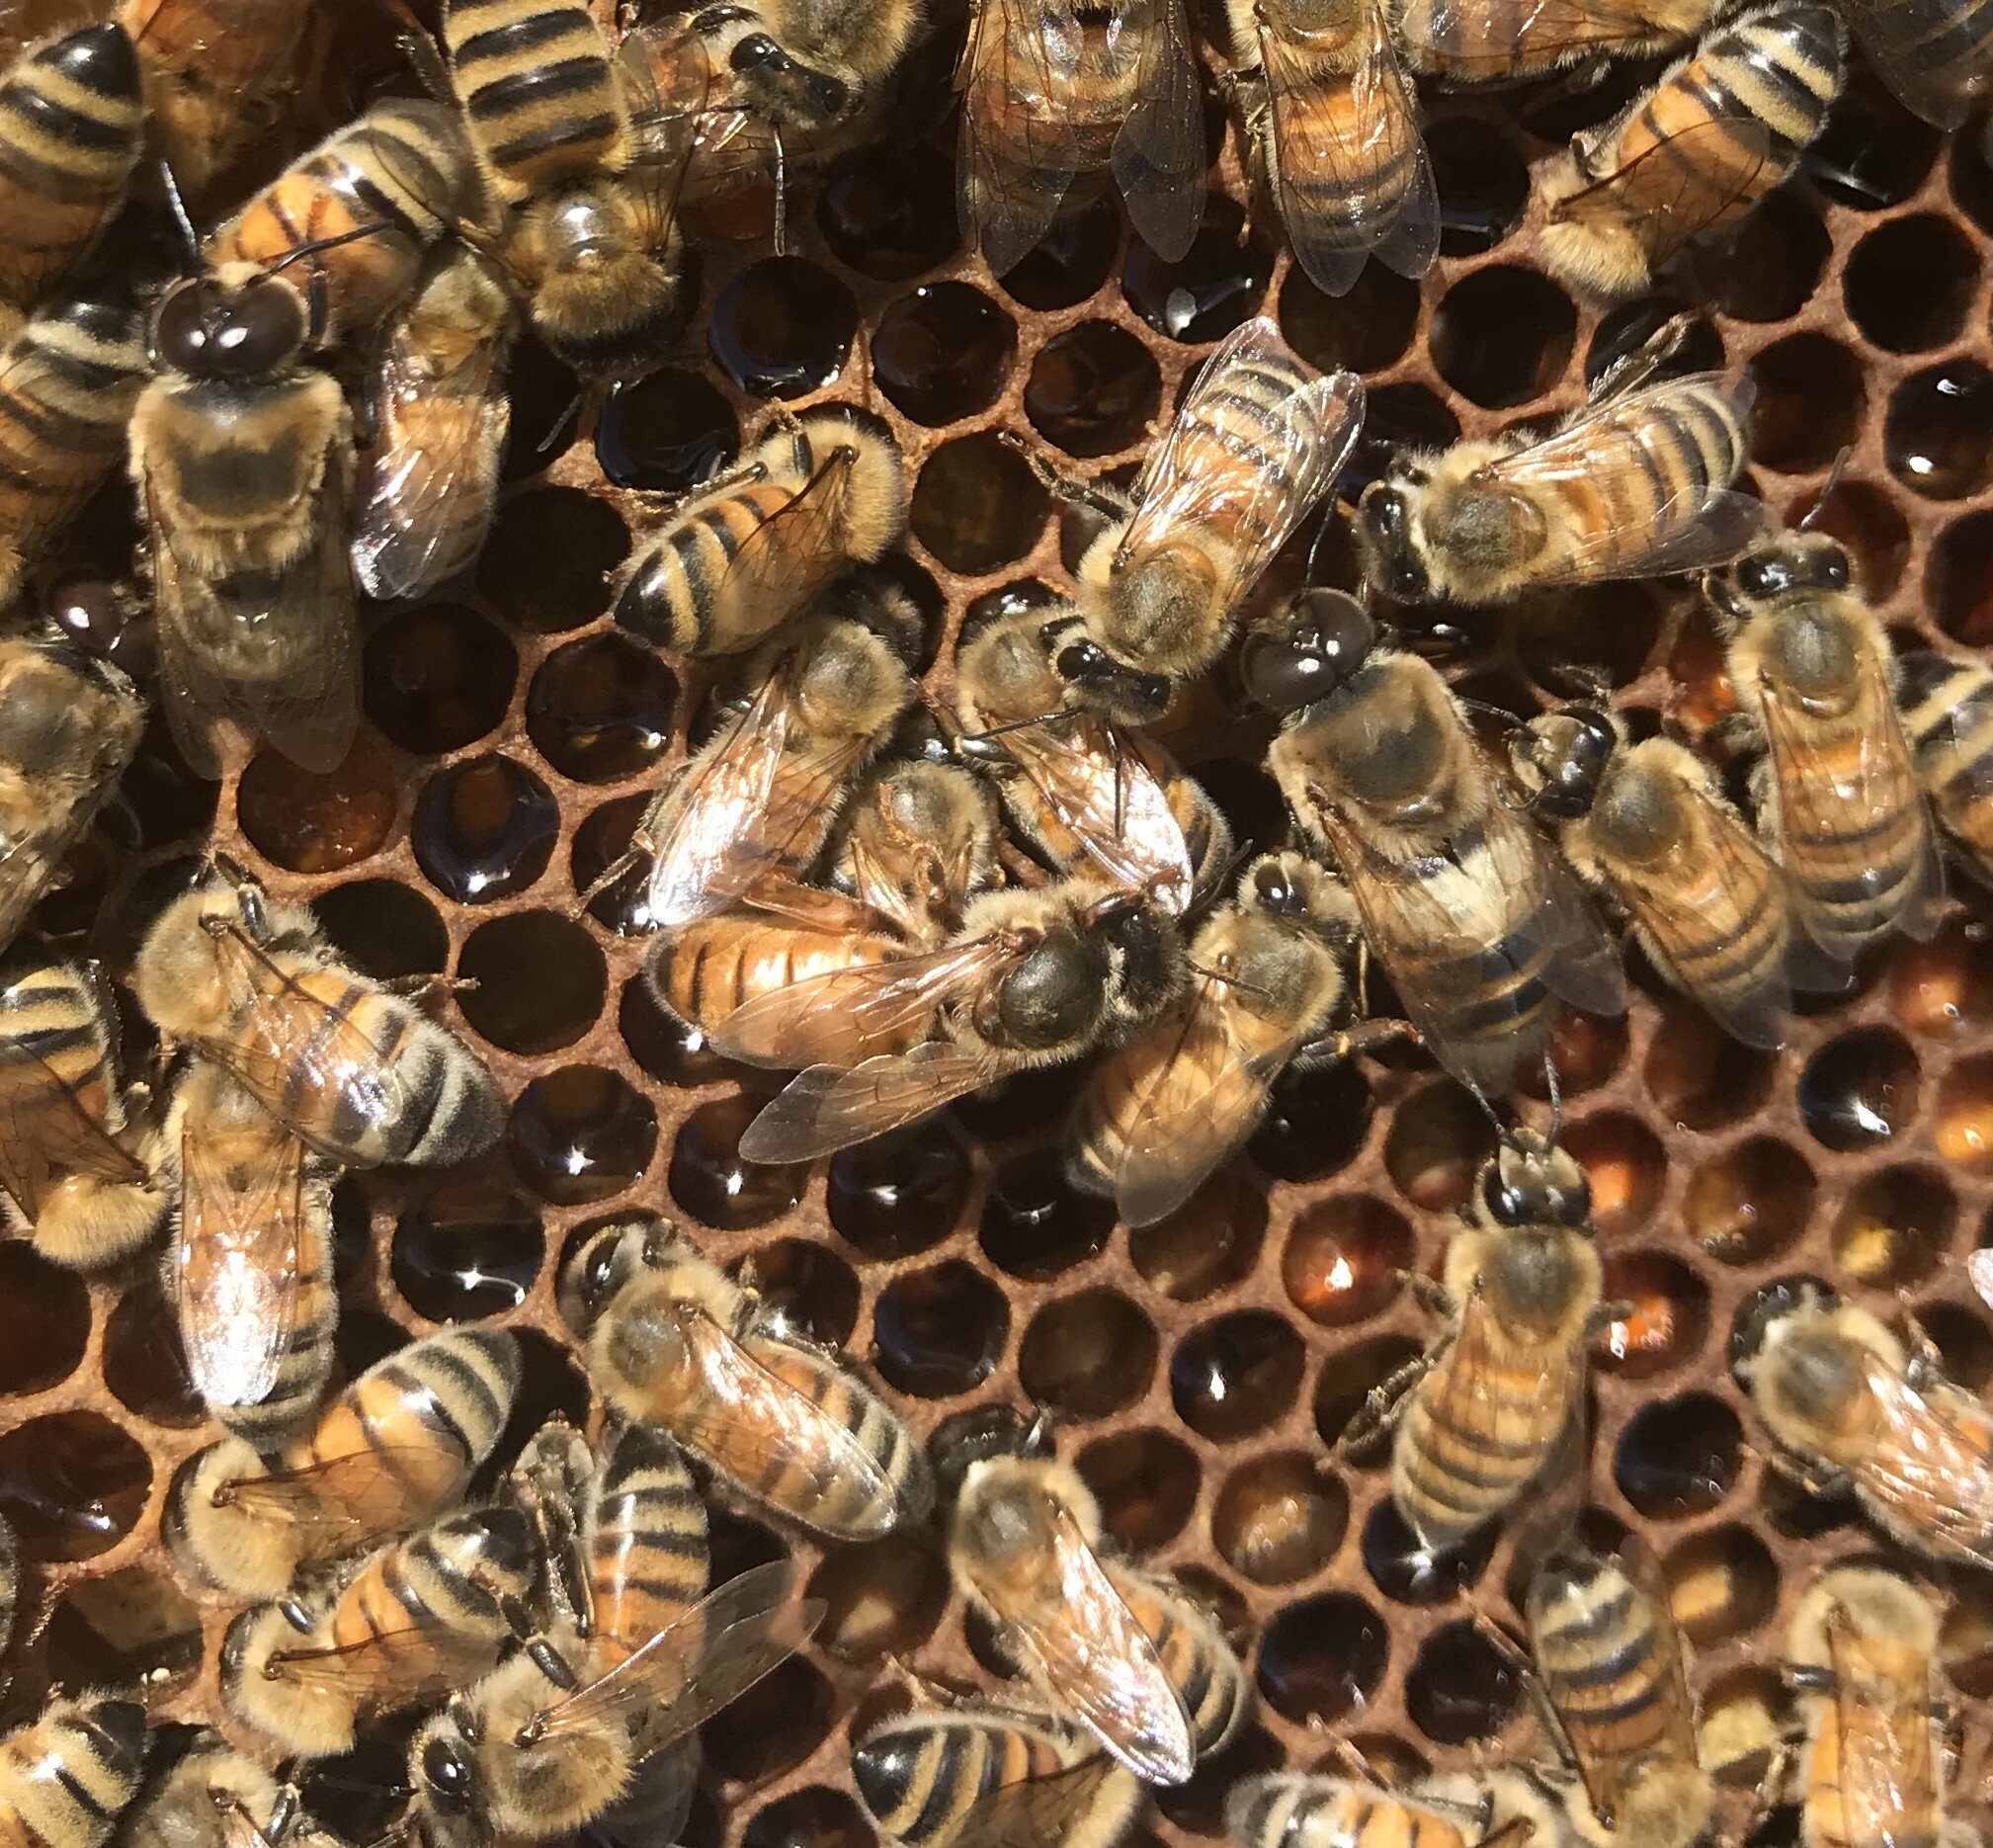
A strong second year queen at Bountiful Blossoms Bee Company.
Two year old queens are often the most robust, and should be used as the breeder queens whenever possible. Also, the colony must have ten frames of brood by April 1-June 1 for USDA zones 2-8. Here in Iowa the target date is 10 frames of brood by April 25-May 1st for zones 4/5). Click here find out what zone you live in.
Treat starter and builder hives with Terramycin
Treating these hives with terramycin (and antibiotic) a week or so before grafting will significantly reduce foulbrood infections in your nucleus hives. It is important to limit the use of antibiotics in honey bee hives to limit antibiotics that could end up in honey. In general, only treat your hives when absolutely necessary: starter/builder colonies and new nuc hives. Additionally, you will need to obtain a prescription from a veterinarian to use antibiotics in your hives. For further information on the regulations of using Terramycin in bee hives, click here.
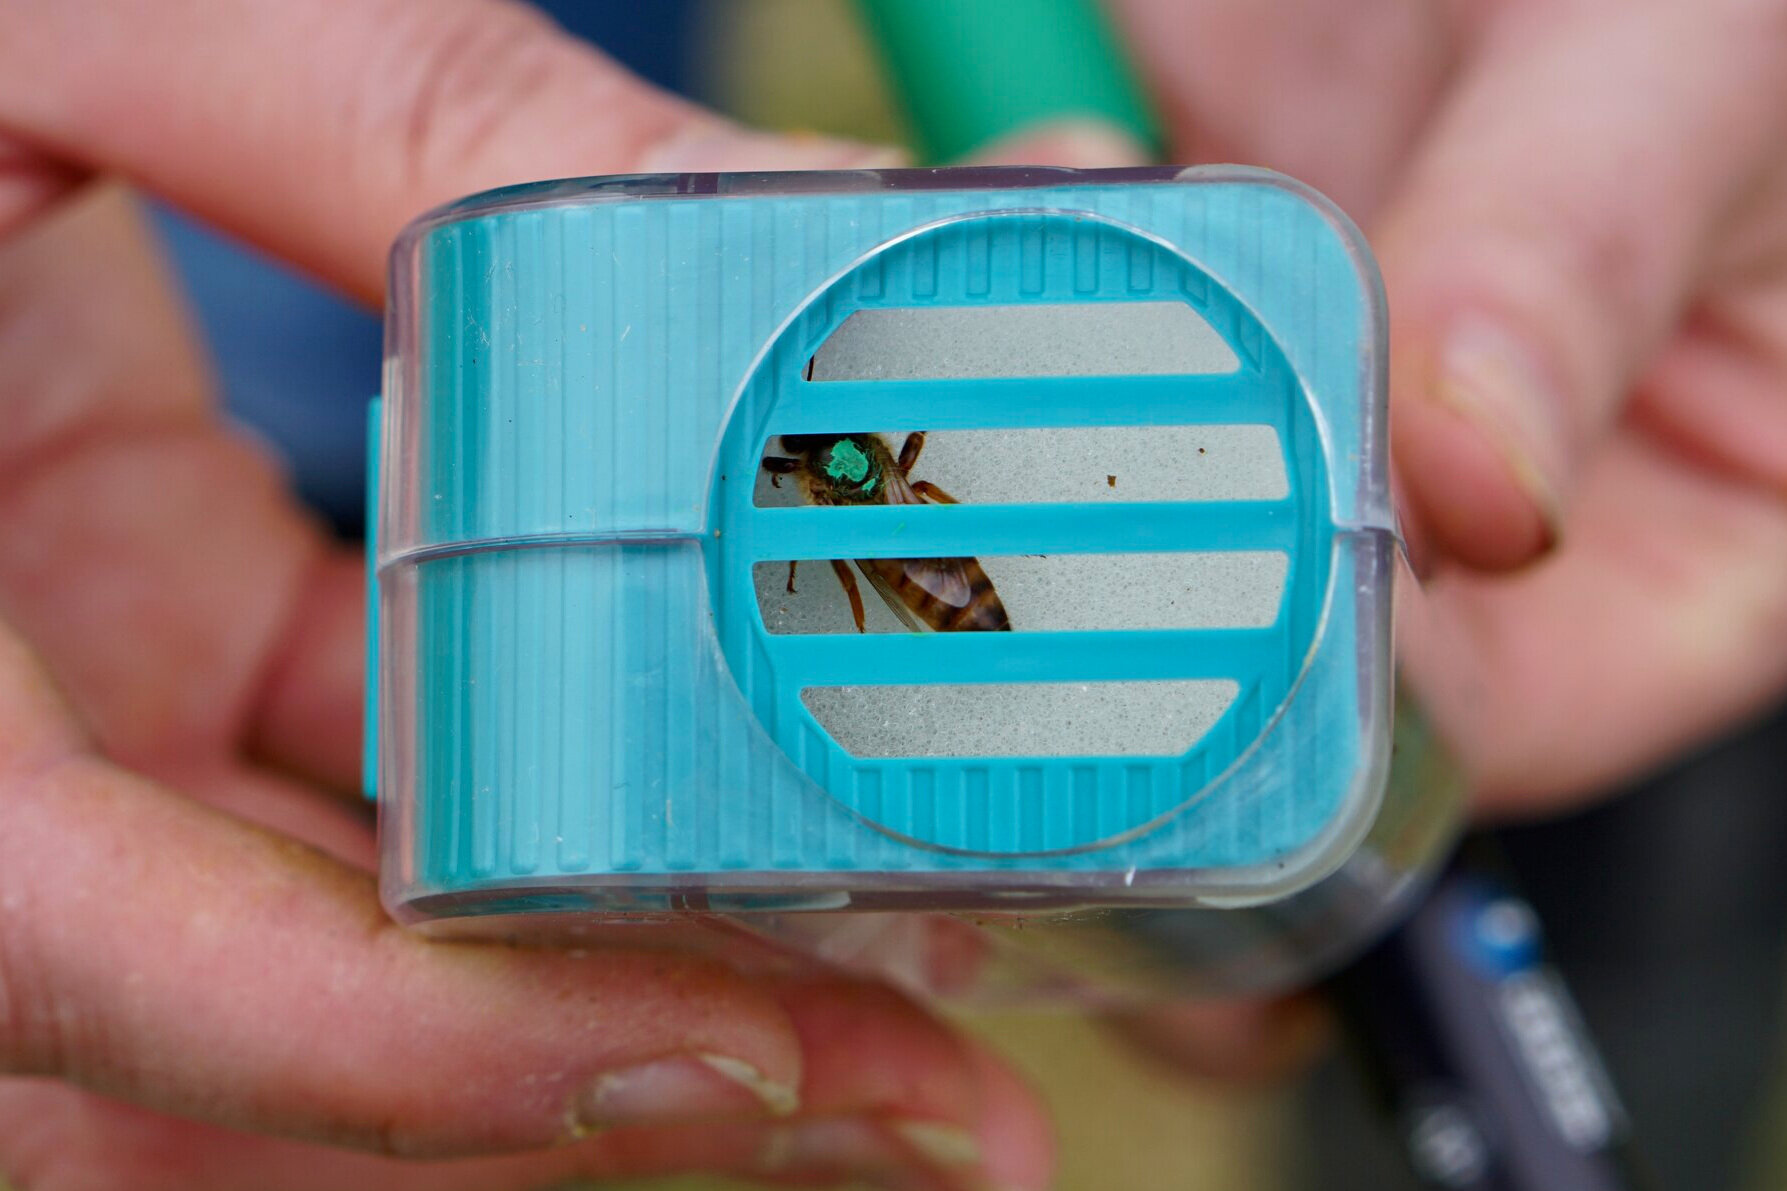
Mark all queens in your starters and builders
You will need to isolate the queen from the queen-building section of the colony that you set up, and marking her with standard model airplane paint or queen marking pen will ensure that you can keep tabs on her. If you don’t feel comfortable grabbing a queen by the wings with your fingertips and painting the dorsal side of her thorax while holding her, you can use this handy queen catcher by Mann Lake.

COLLECT YOUR LARVAE
Once you have marked your starter and builder queens and have selected your breeder hive, it is now time to decide how you will acquire the female larvae. The traditional method cages a queen onto a section of the comb with special 1/8” metal screen for 12-24 hours before releasing her back into the hive, or using the Jenter System, which uses a plastic insert with removable cell cups.
CAGE METHOD
PROS: It is easy to place the cage on an open comb and queens are fairly receptive to laying in the comb within about 12 hours. Adjust the size of the cage according to your needs. You can also build a custom frame that allows the queen access to both sides (made out of queen excluder panels).
CONS: You will have to do traditional grafting with a grafting tool and royal jelly. Royal Jelly should come from queen cells from a hive that has been treated with terramycin (if possible) to prevent the potential spread of foulbrood.

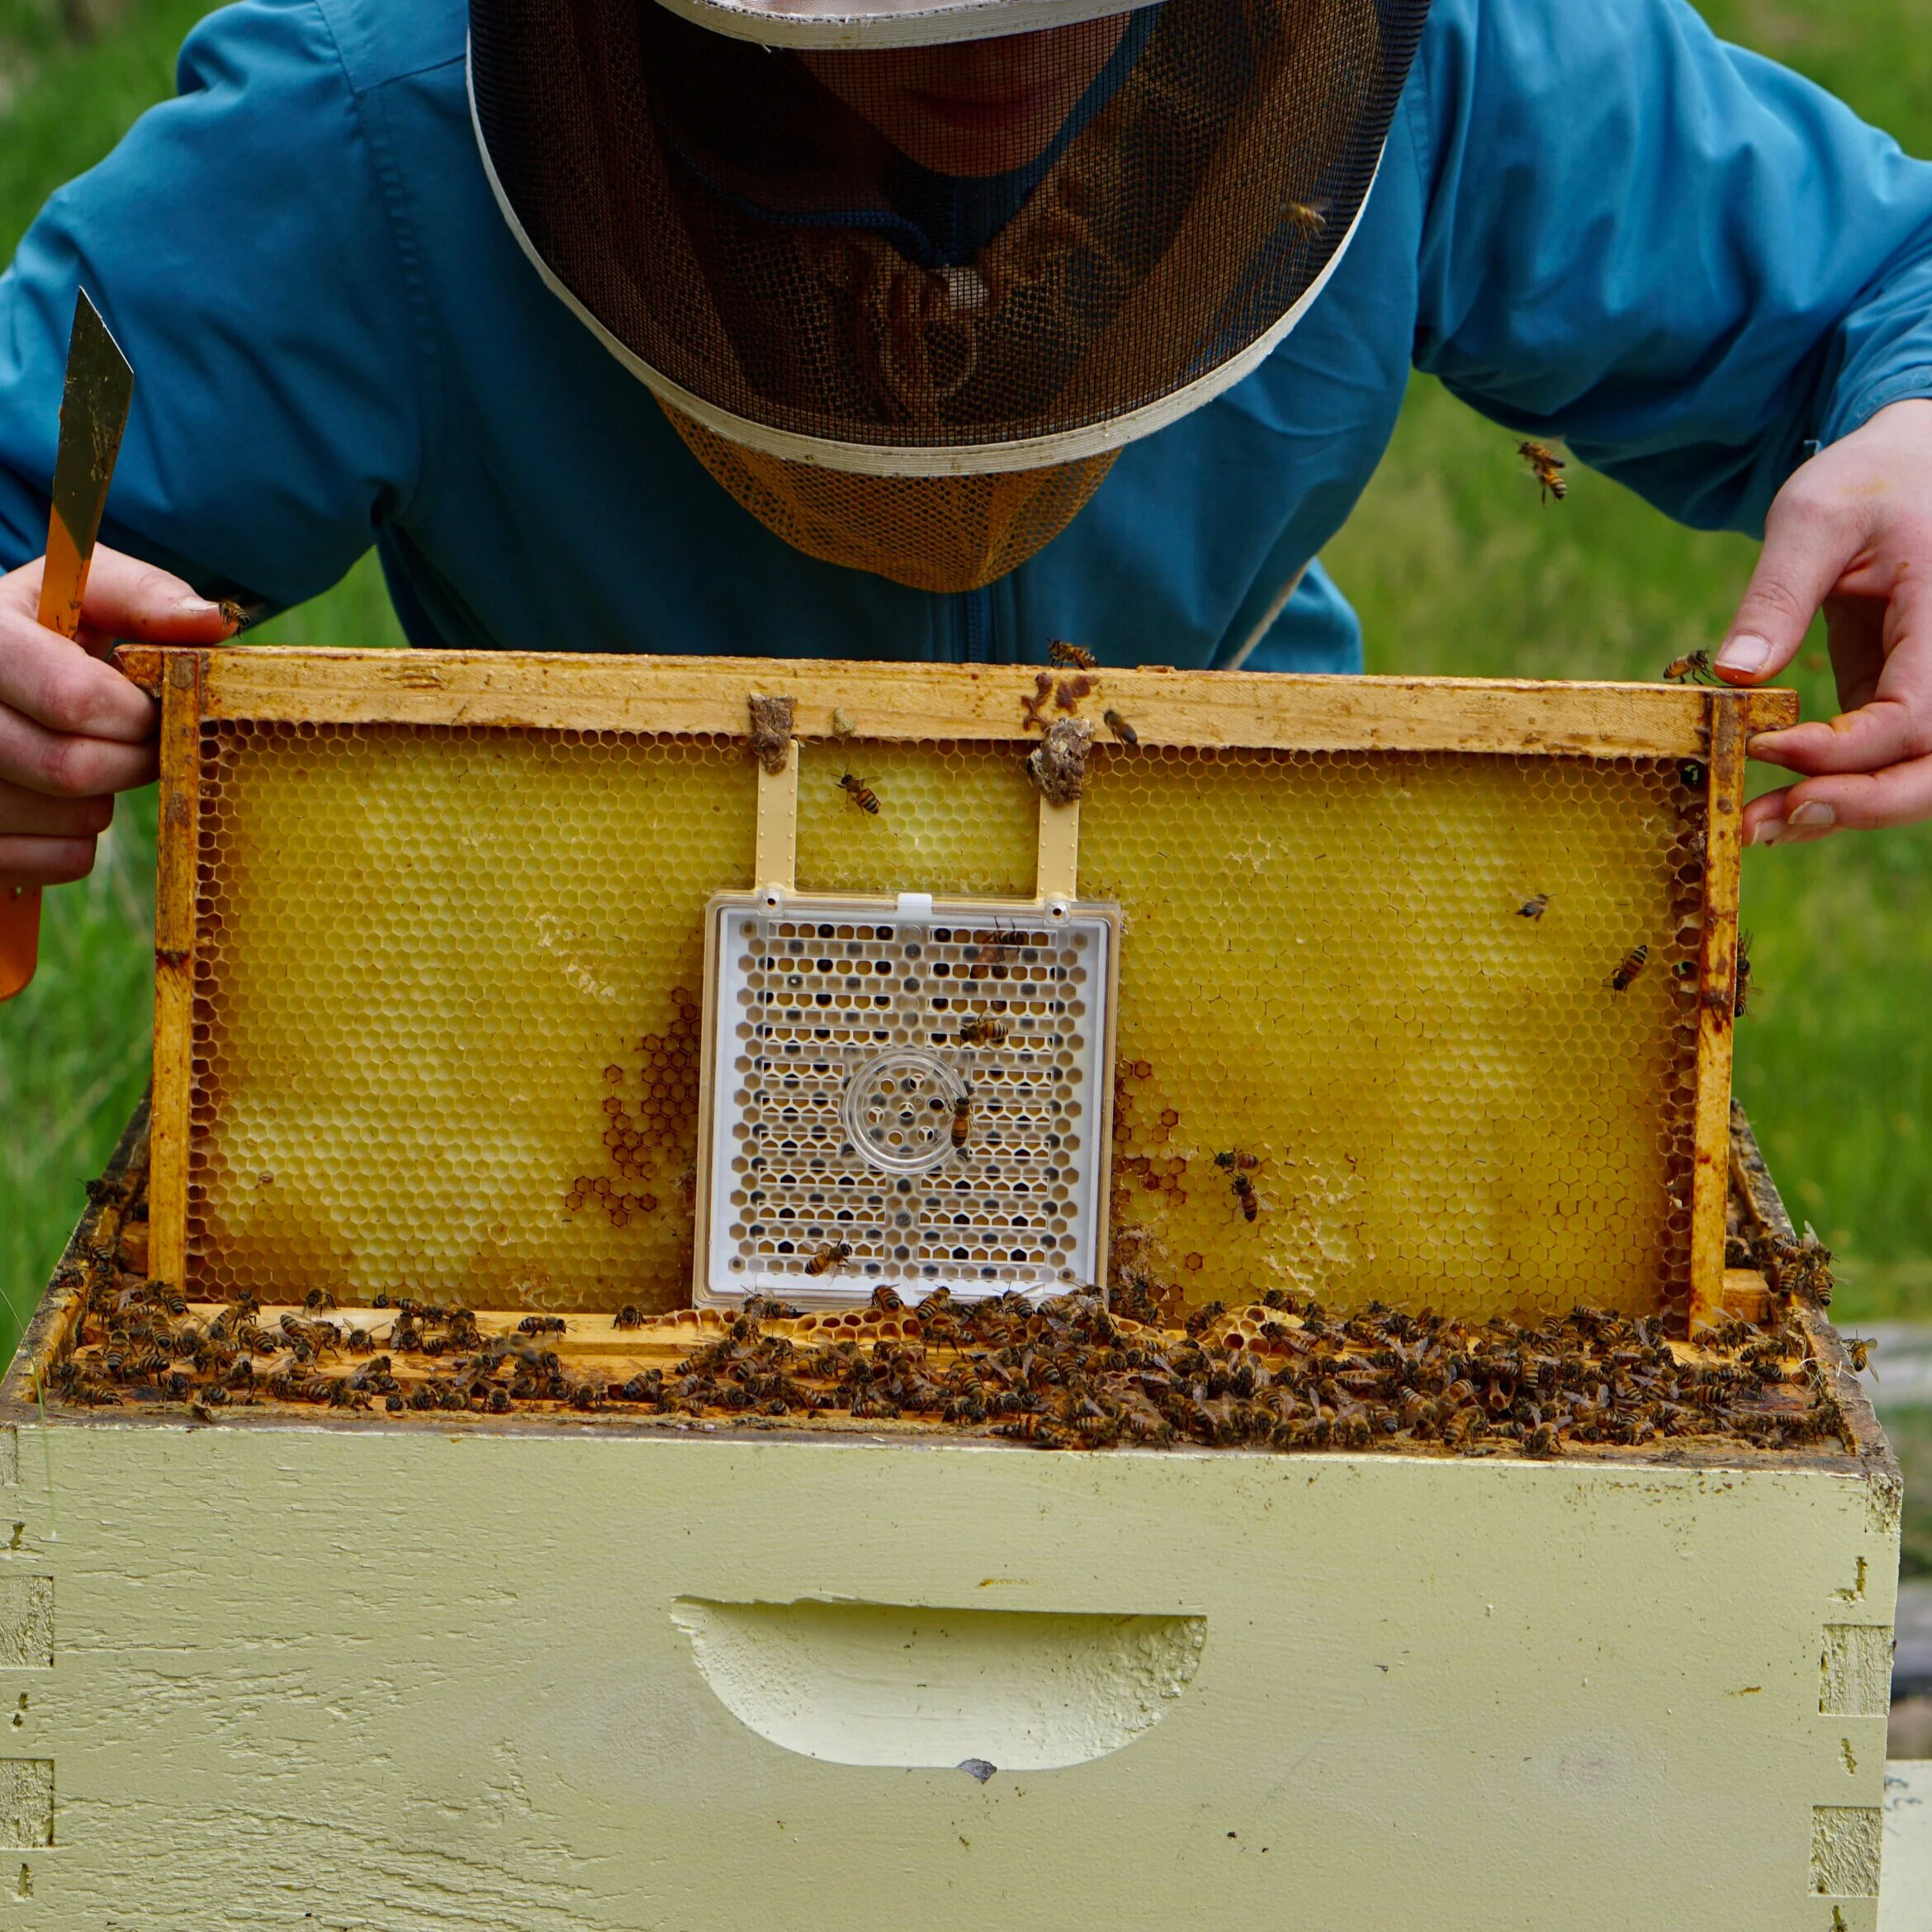
JENTER METHOD
PROS: No grafting required, as the queen lays eggs into the cups directly and workers will add royal jelly as they develop. Less handling can mean less larvae damage and a potentially higher success rate.
CONS: You have to individually add each of the cups to the plastic system (coating them in beeswax first if possible, and a custom frame needs to be built if possible to fit the box into a frame easily. Also, the queen is often more reluctant to lay in the plastic system compared to a natural frame.
PREPARE YOUR STARTER HIVE

Starter hive box with a screened bottom
A “shook” starter hive can start up to 60 queen cells. The bees must be released back to their parent hive after each start and can be used again 6 days later. To make a “shook” starter, 5 lbs of bees need to go into an enclosed 5 frame nuc box with a screened bottom. At front and back of nuc box put an incha and a half cleat on each end to allow for air flow. Also put a 1 inch hole on top for a feeder bucket/jar that will contain 1:1 or 2:1 sugar to water.
Frame structure of the box: 3 total frames with a mix of open honey and one solid frames'-worth of pollen. You will leave 2 empty slots for the queen frames.
Bees: To put bees into the box, you must follow these steps:
1.Isolate the marked queen into the bottom brood box with a queen excluder over the top. You don’t want to shake the queen into the nuc box, otherwise your cells won’t be started!

A starter hive with approximately 5 lbs of bees
2. You will make your starter hive in the evening, no earlier than an hour before sunset.
3. Loosen all the frames in your chosen box that contains the bees that you will shake into your starter hive because you need to be able to shake all your frames into the box very quickly (less than 1 minute total time if possible). Do about 6 shakes of drops of sugar syrup from your feeder bucket onto the bees to calm them slightly.
4. Quickly shake all the bees into the nuc box (with the 3 frames inside, spaced such that there is a frame on the outsides and 1 in the middle. After shaking the bees, quickly place the lid on the nuc. Next, place the hive in a quiet, cool, and dark room for two hours before giving each one up to 60 grafted cells.
GRAFTING
Larvae: To start your queen cells, you must have 4 day old larvae. These can either be traditionally grafted out of a normal comb (where you caged your queen), or kept in the Jenter system cups and placed into queen frames. If you use the traditional method, you need to make a 1:1 royal jelly to distilled water mixture.

Swarm queen cells from a builder hive used as the source of royal jelly for grafting

Mixing royal jelly and distilled water in a sterile jar using a syringe
Grafting: If you do the traditional method, you need to lightly cover the bottom of the queen cell cup with about 7 microliters of royal jelly. This is 1 small drop (a one ml syringe can do about 150 cells). You don’t want to add too much or the larvae will drown. Not enough and the larva will dry out. It is important to take air humidity into account when grafting. If it is a rainy day and the humidity is high, the royal jelly mixture could be a bit too runny. If it is cold and you have the heater going (or if it is a hot, dry day), your royal jelly could dry out and your larvae will die! Keep the royal jelly mixture as clean as possible and store in the refrigerator for up to 2 days if needed.

Recently grafted larvae
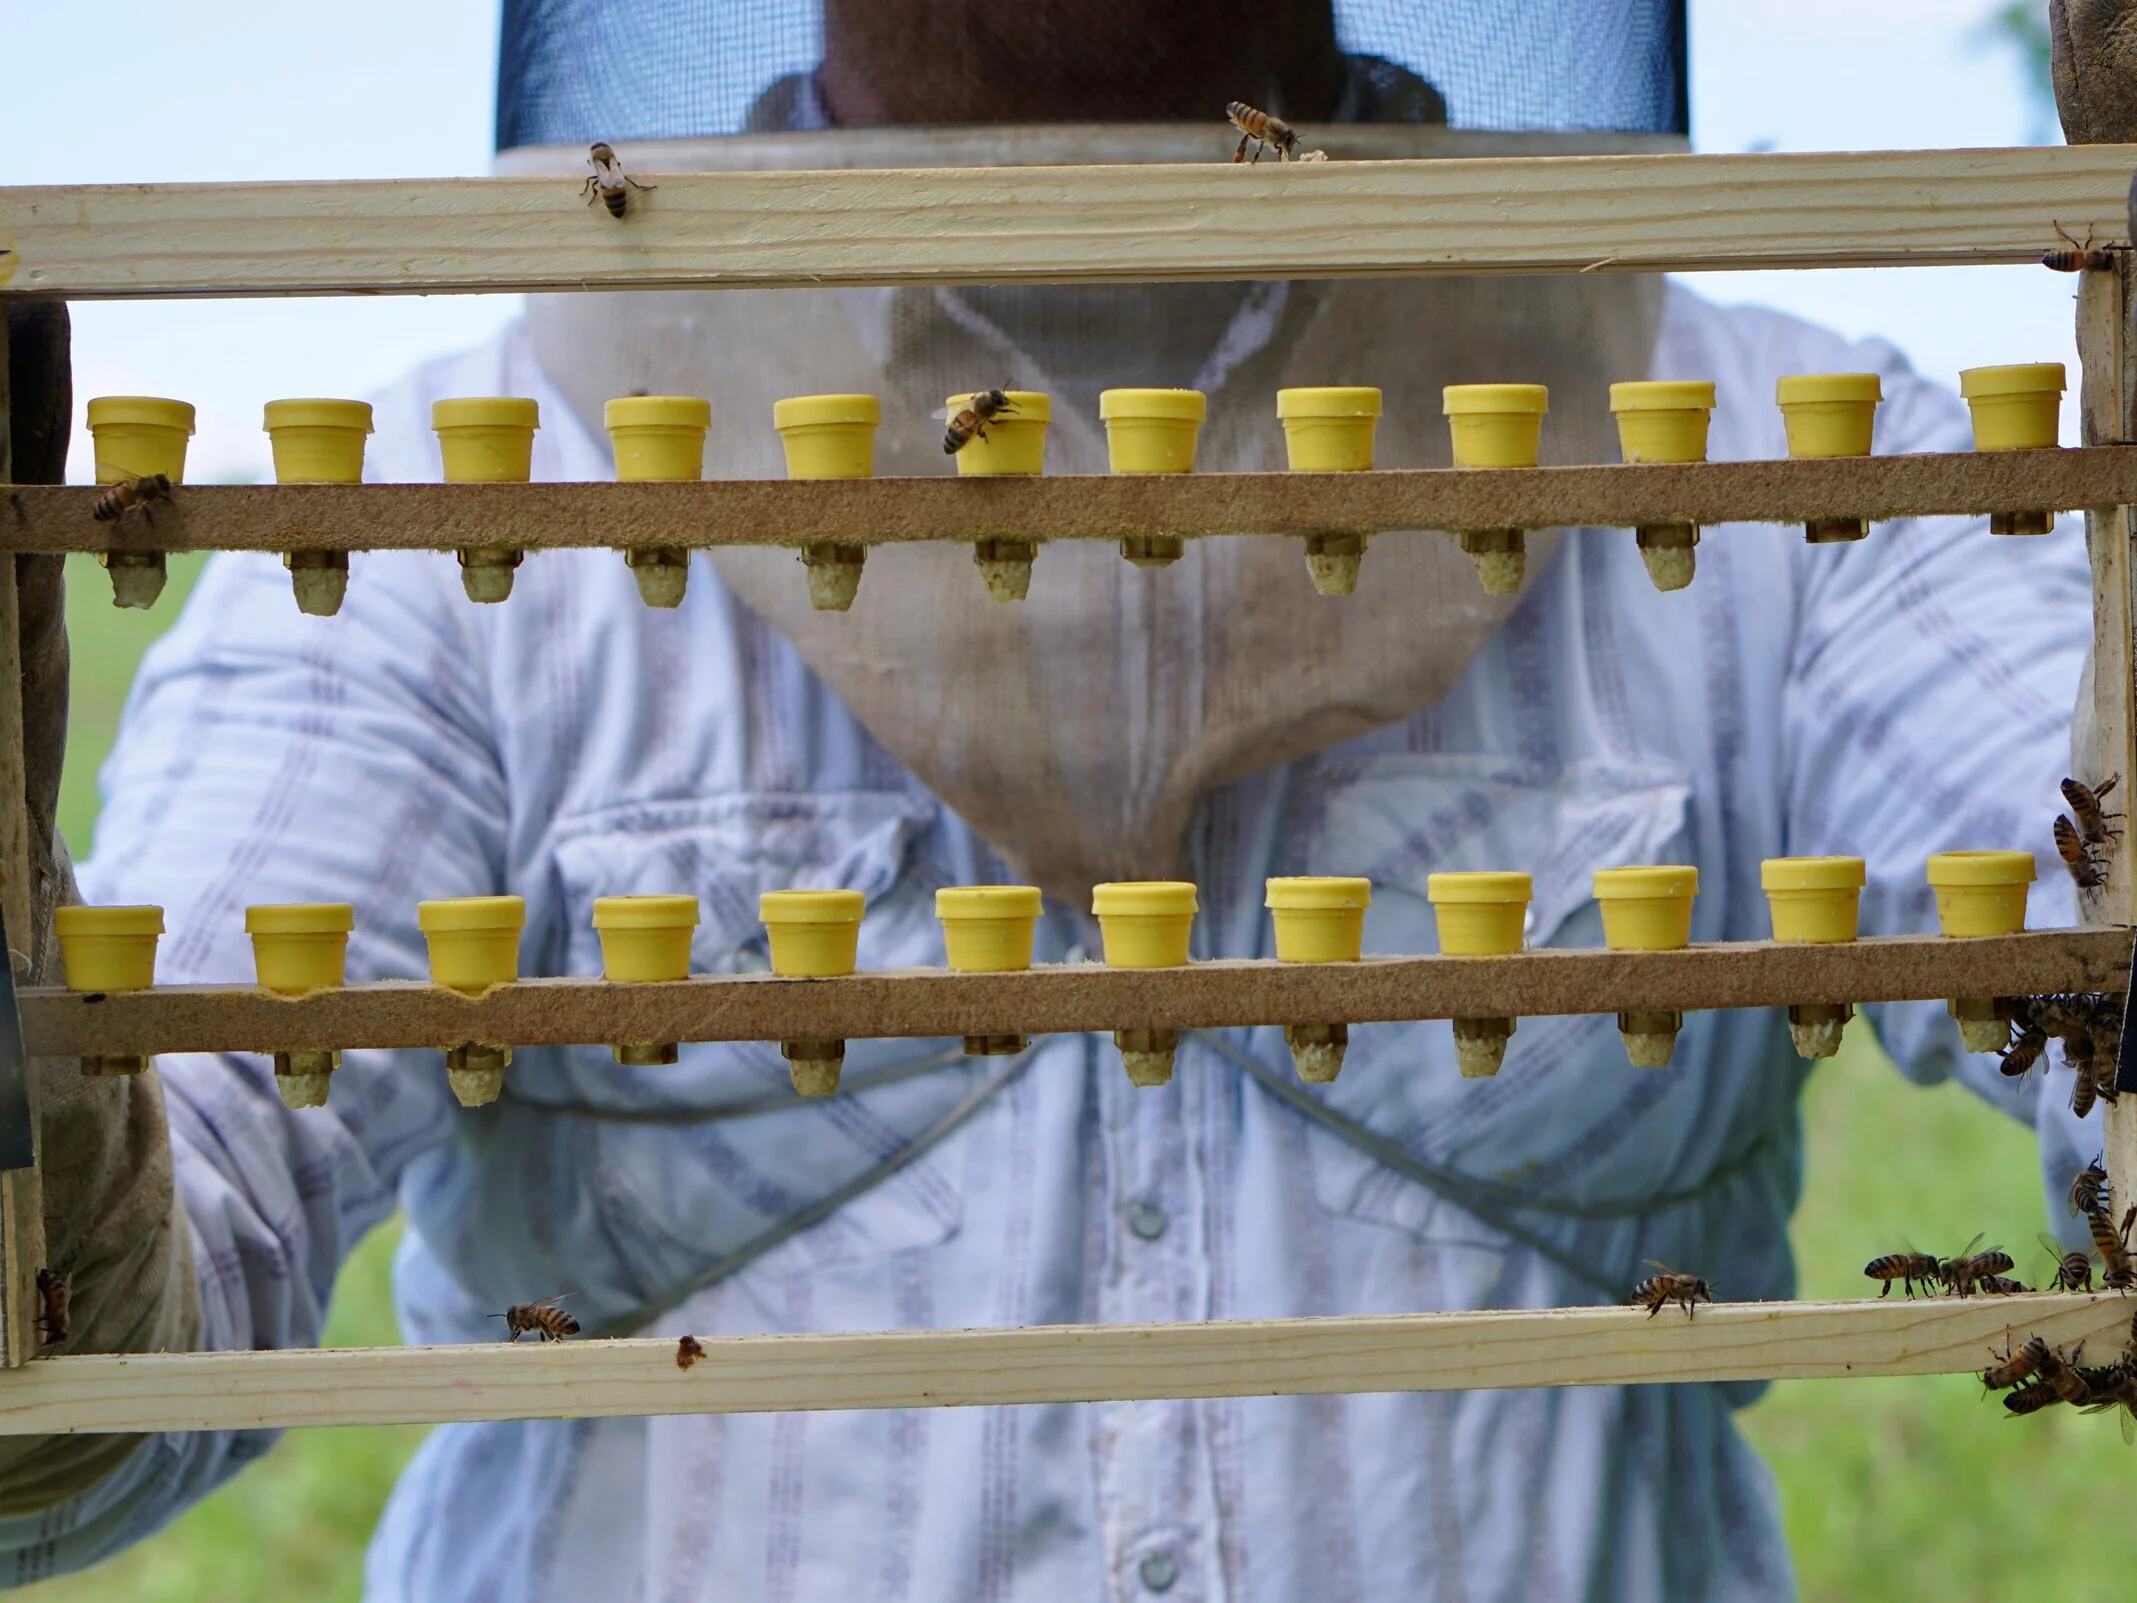
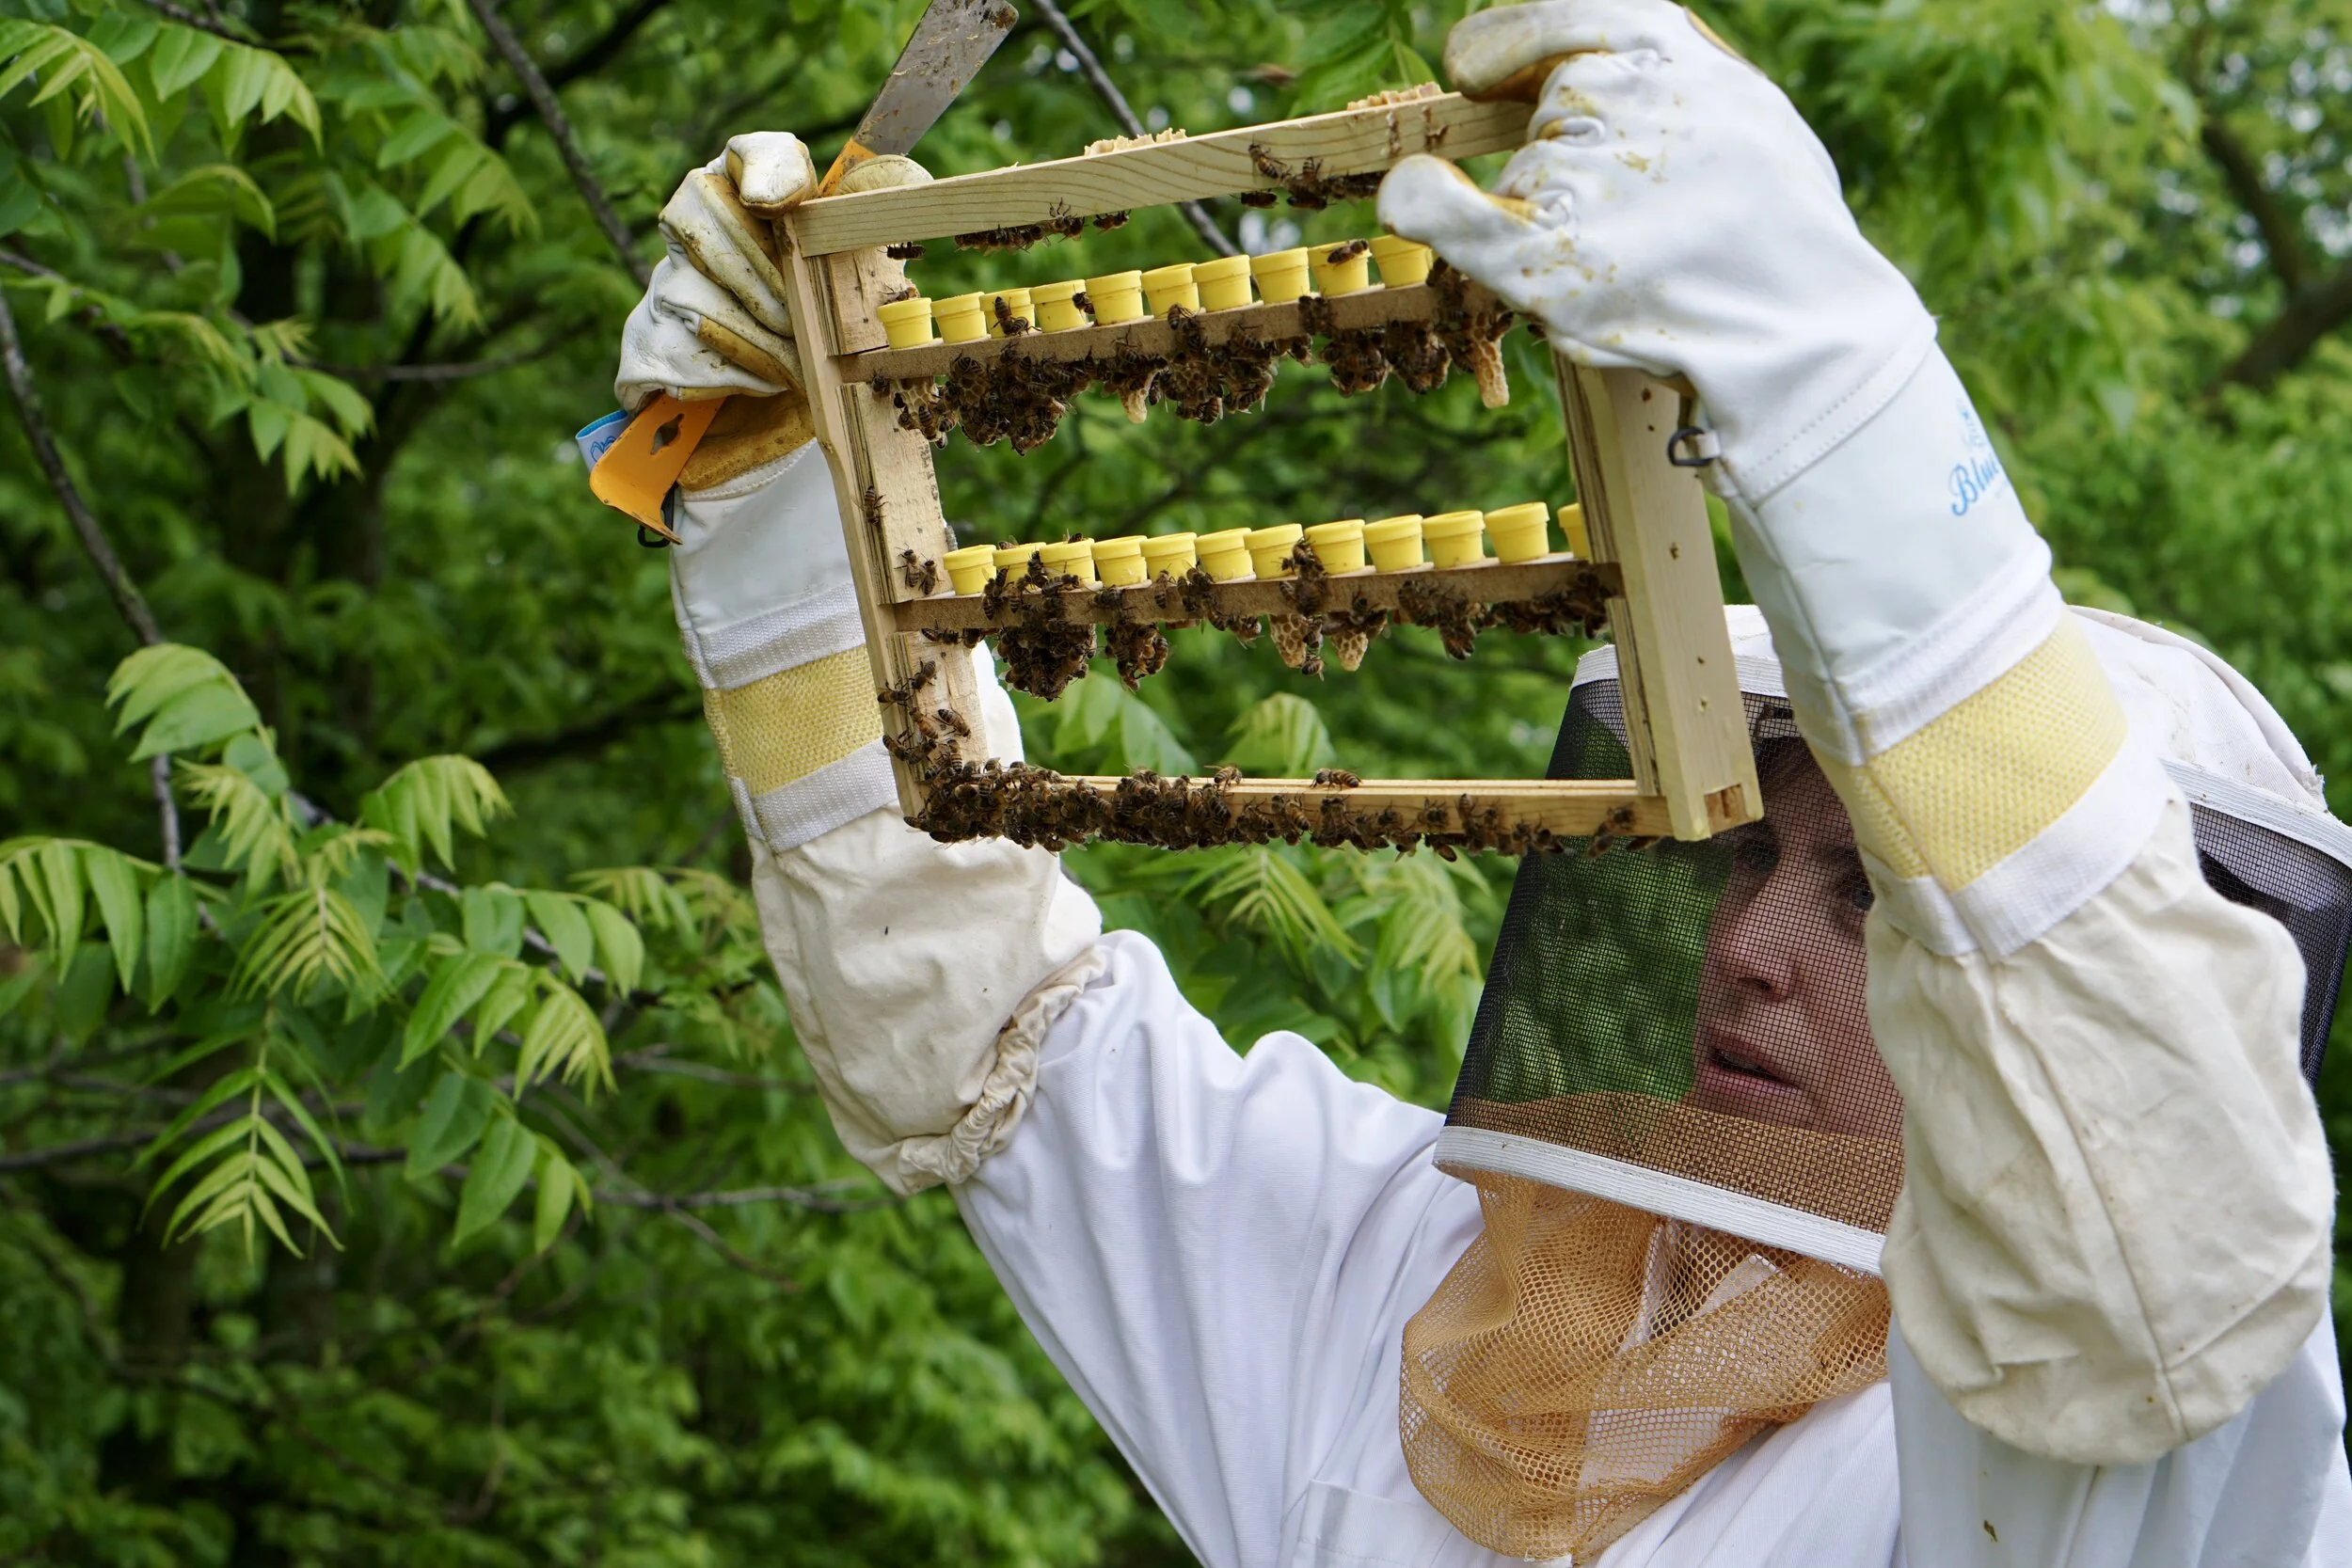
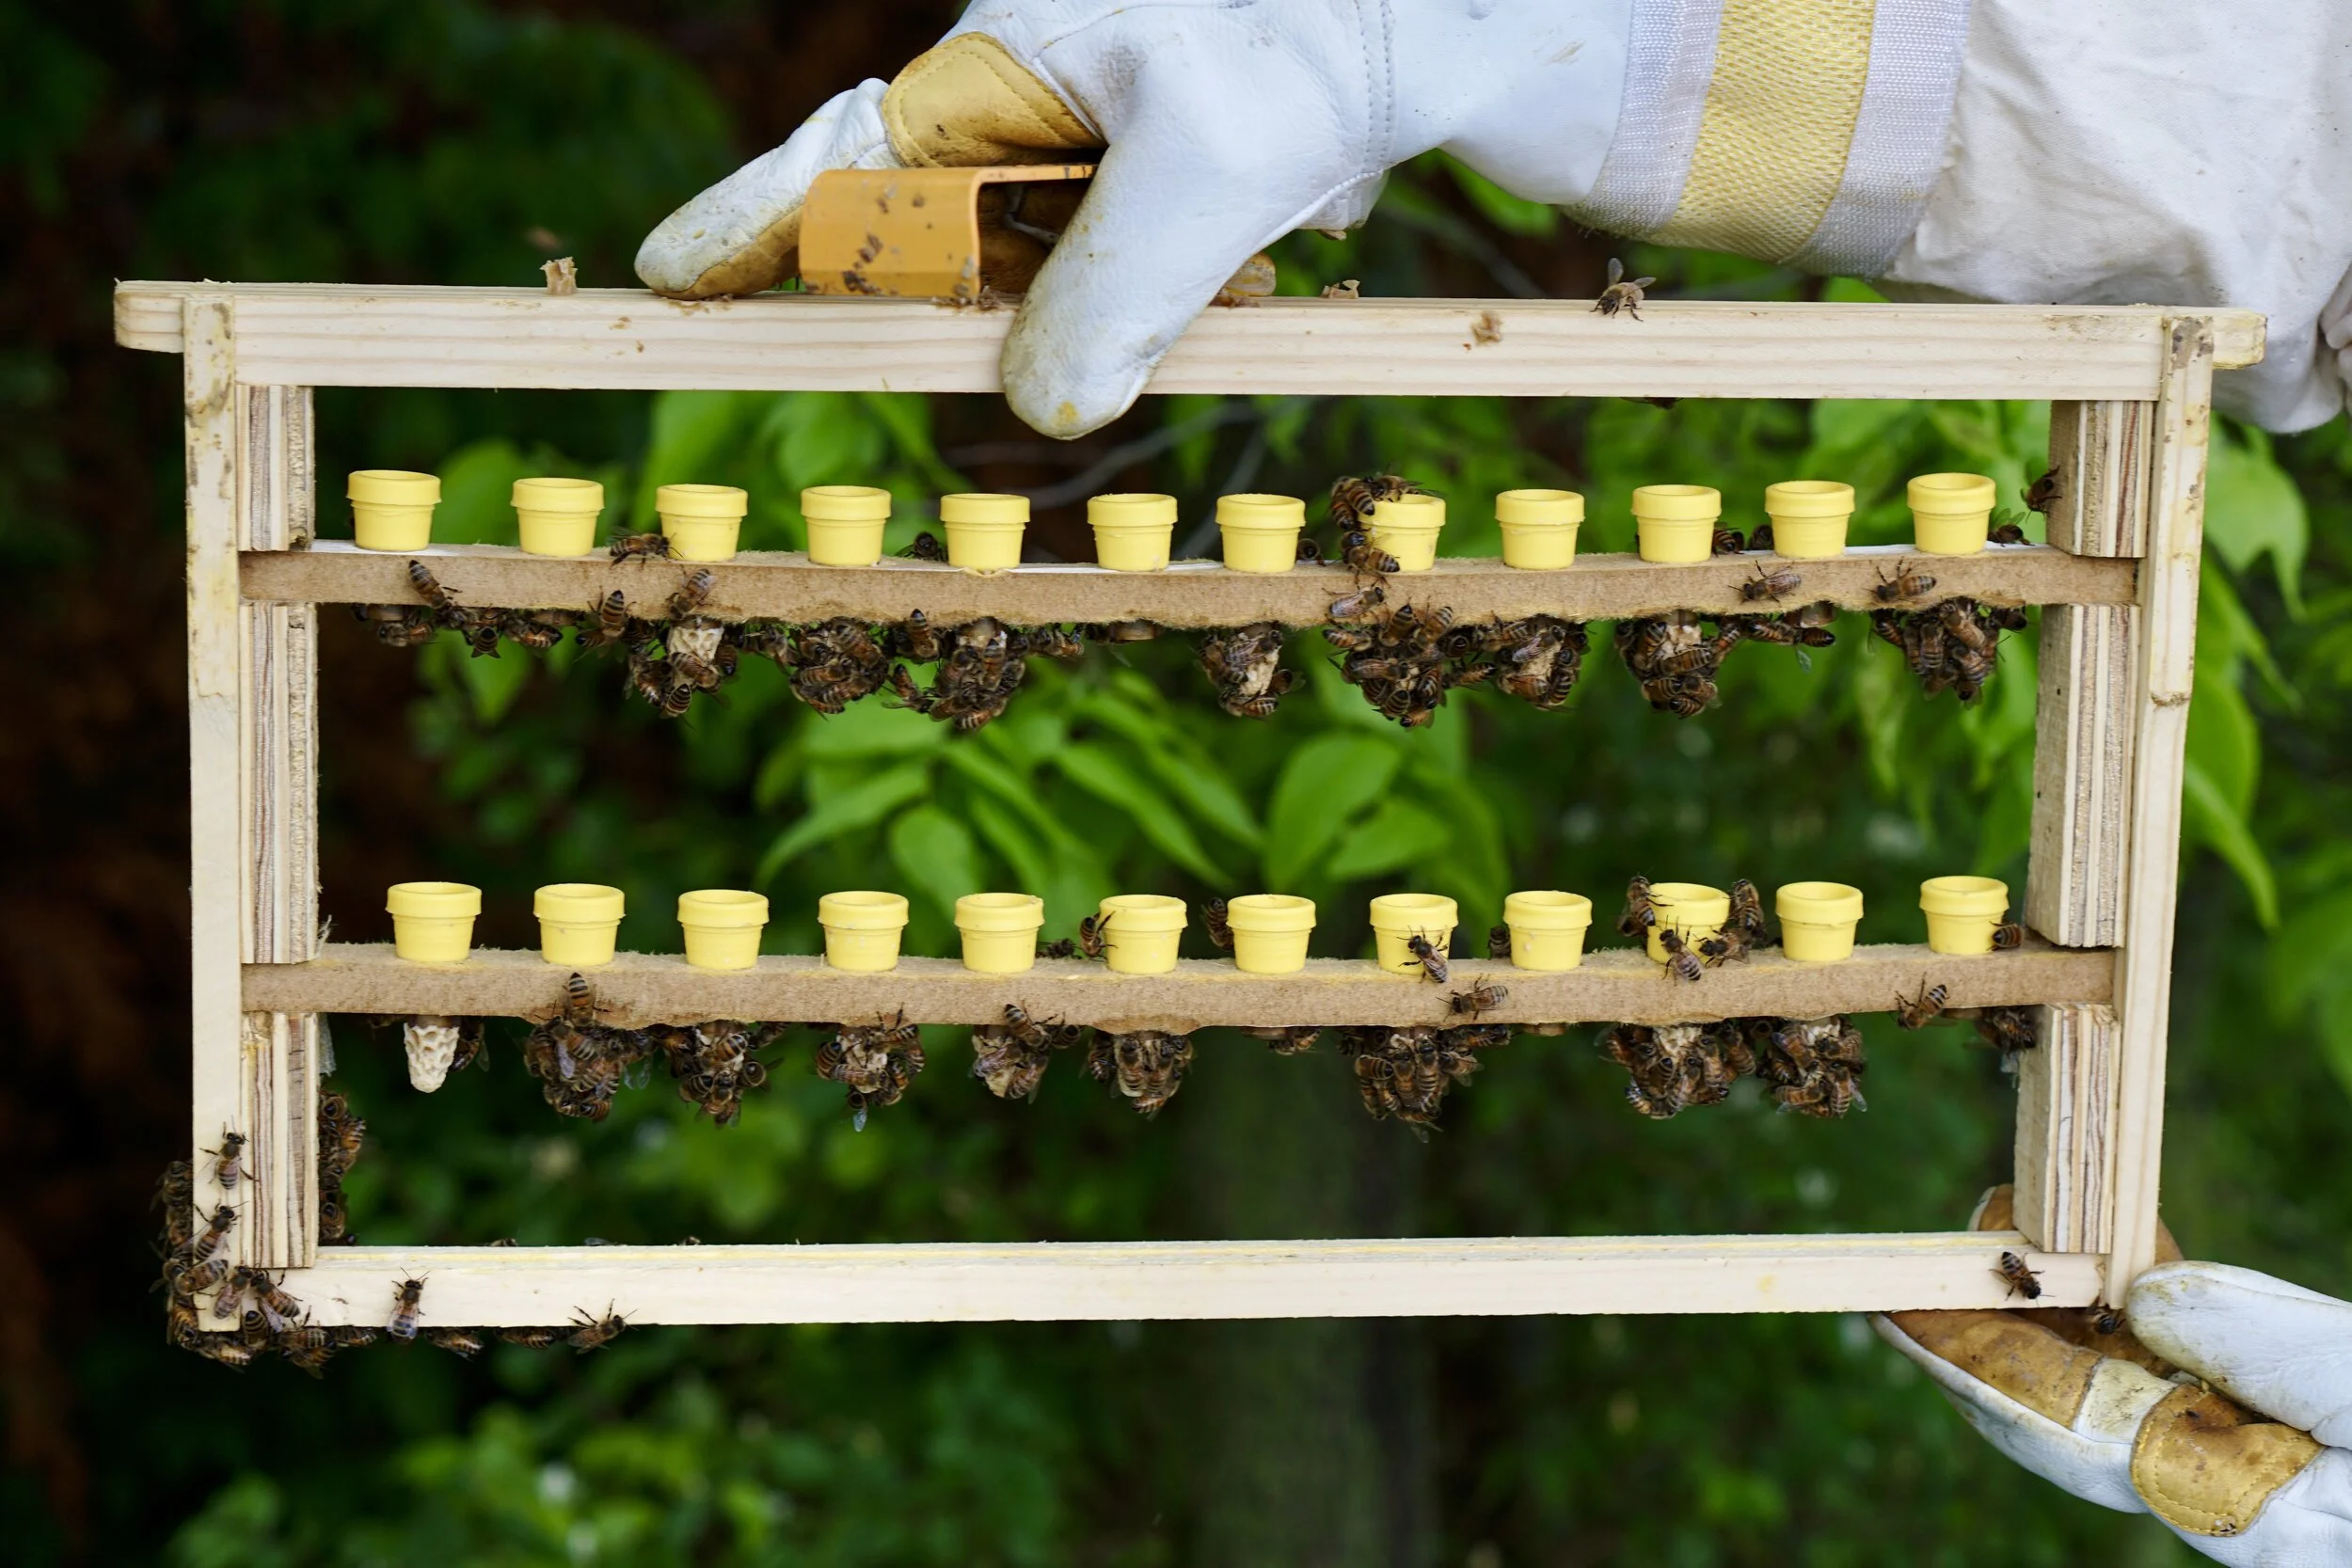
Queen cell frames: You can either build your own frame that holds up to 45 queen cell cups (3 bars per frame) or you can buy them from multiple beekeeping supply stores. This year (2020), Carol and her husband Brian had to make some adjustments in supplies and queen cell frame formats because getting timely supplies during the COVID-19 pandemic has been challenging. Brian made cell frames to accommodate the Jenter system cups, even though Carol used traditional grafting techniques (the cage method) to do the grafting.

Bob with his custom-made queen cell frame with a perfect 45/45 started queen cell batch (May, 2020)
Put the cell frame into the starter hive: When you have completed your grafting, it must be put into the starter nuc hive, which has been in a dark room for 2 hours. You need enough light to be able to put the cell frames into the hive, but not so much light that it agitates the hive. You must do this quickly or bees will boil out of the hive. Shake the lid gently but firmly straight down to get the bees off the lid. Put the frames in the 2nd and 4th position in the middle of the starter nuc box and close it quickly. Let the starter nuc hive rest (with sugar syrup on top and adequate ventilation for the bottom) in the complete dark for 36 hrs.

Bees being brushed off the queen cell frame
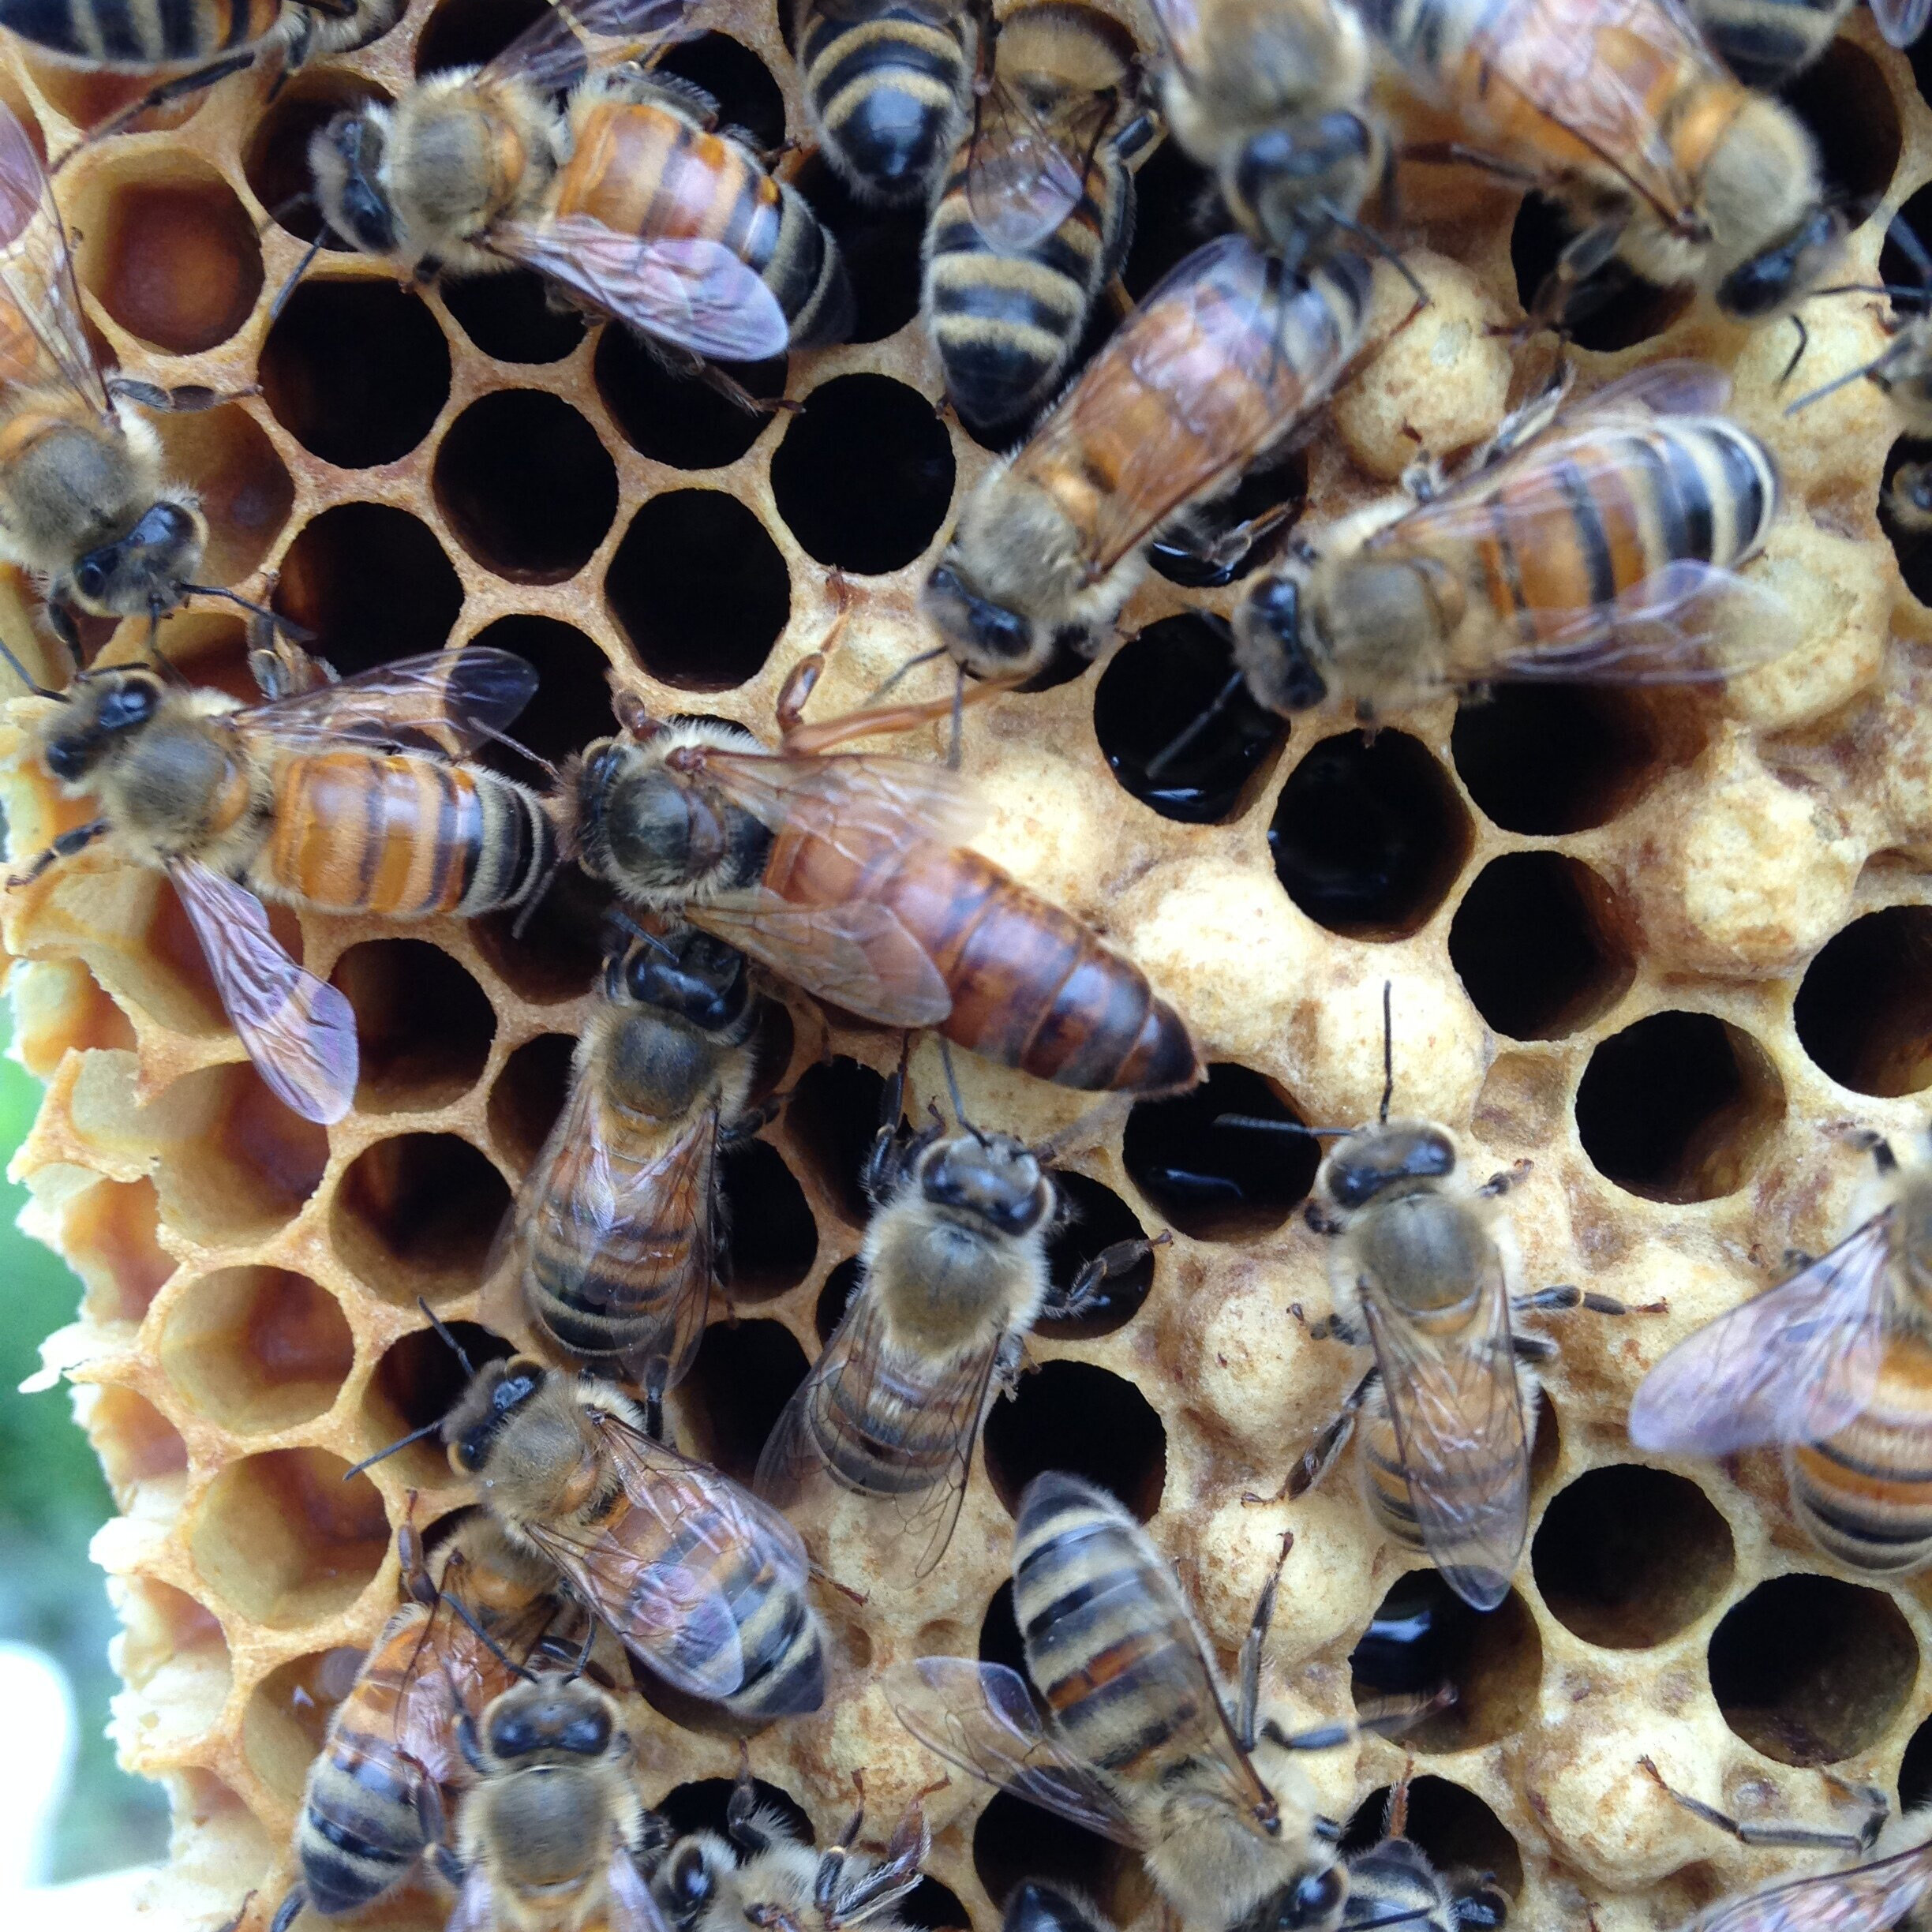
Queen cell frame with freshly started cell cells
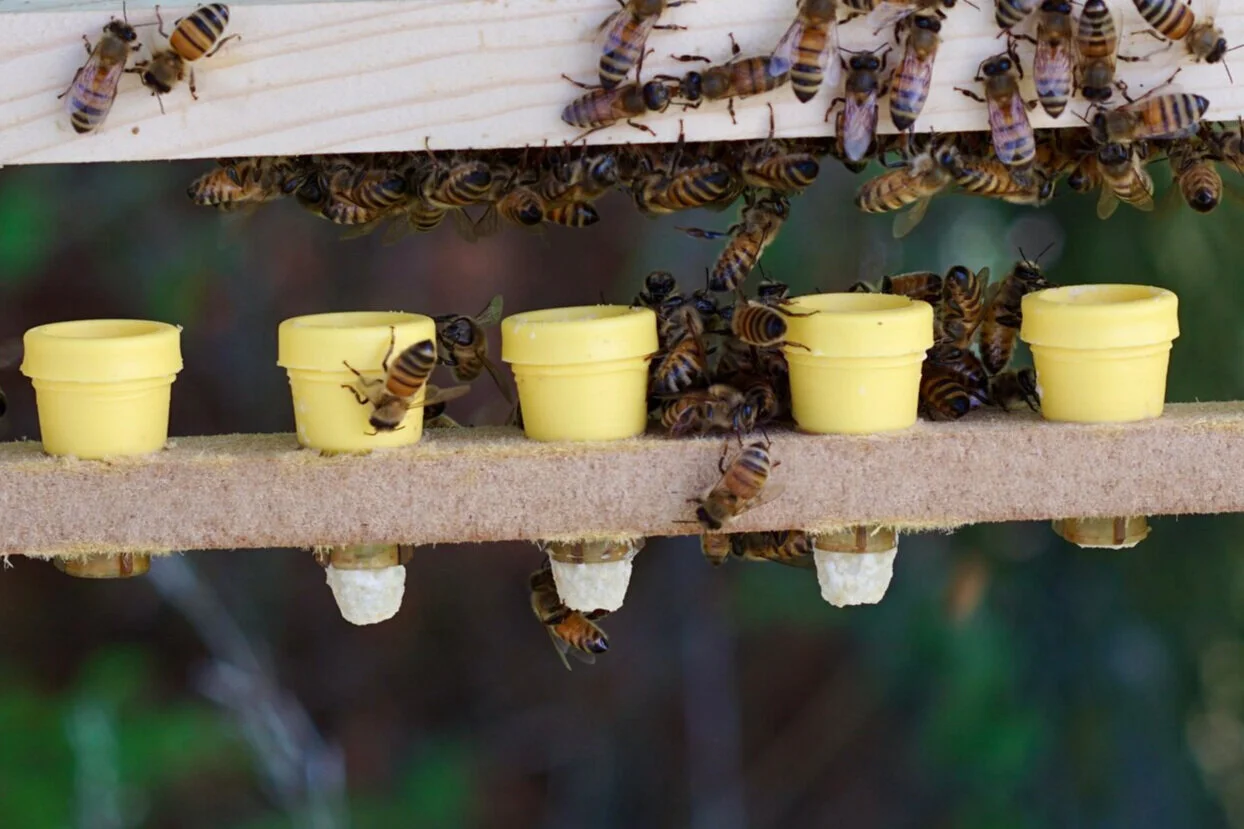
Up close image of started queen cells
BUILDING THE CELLS
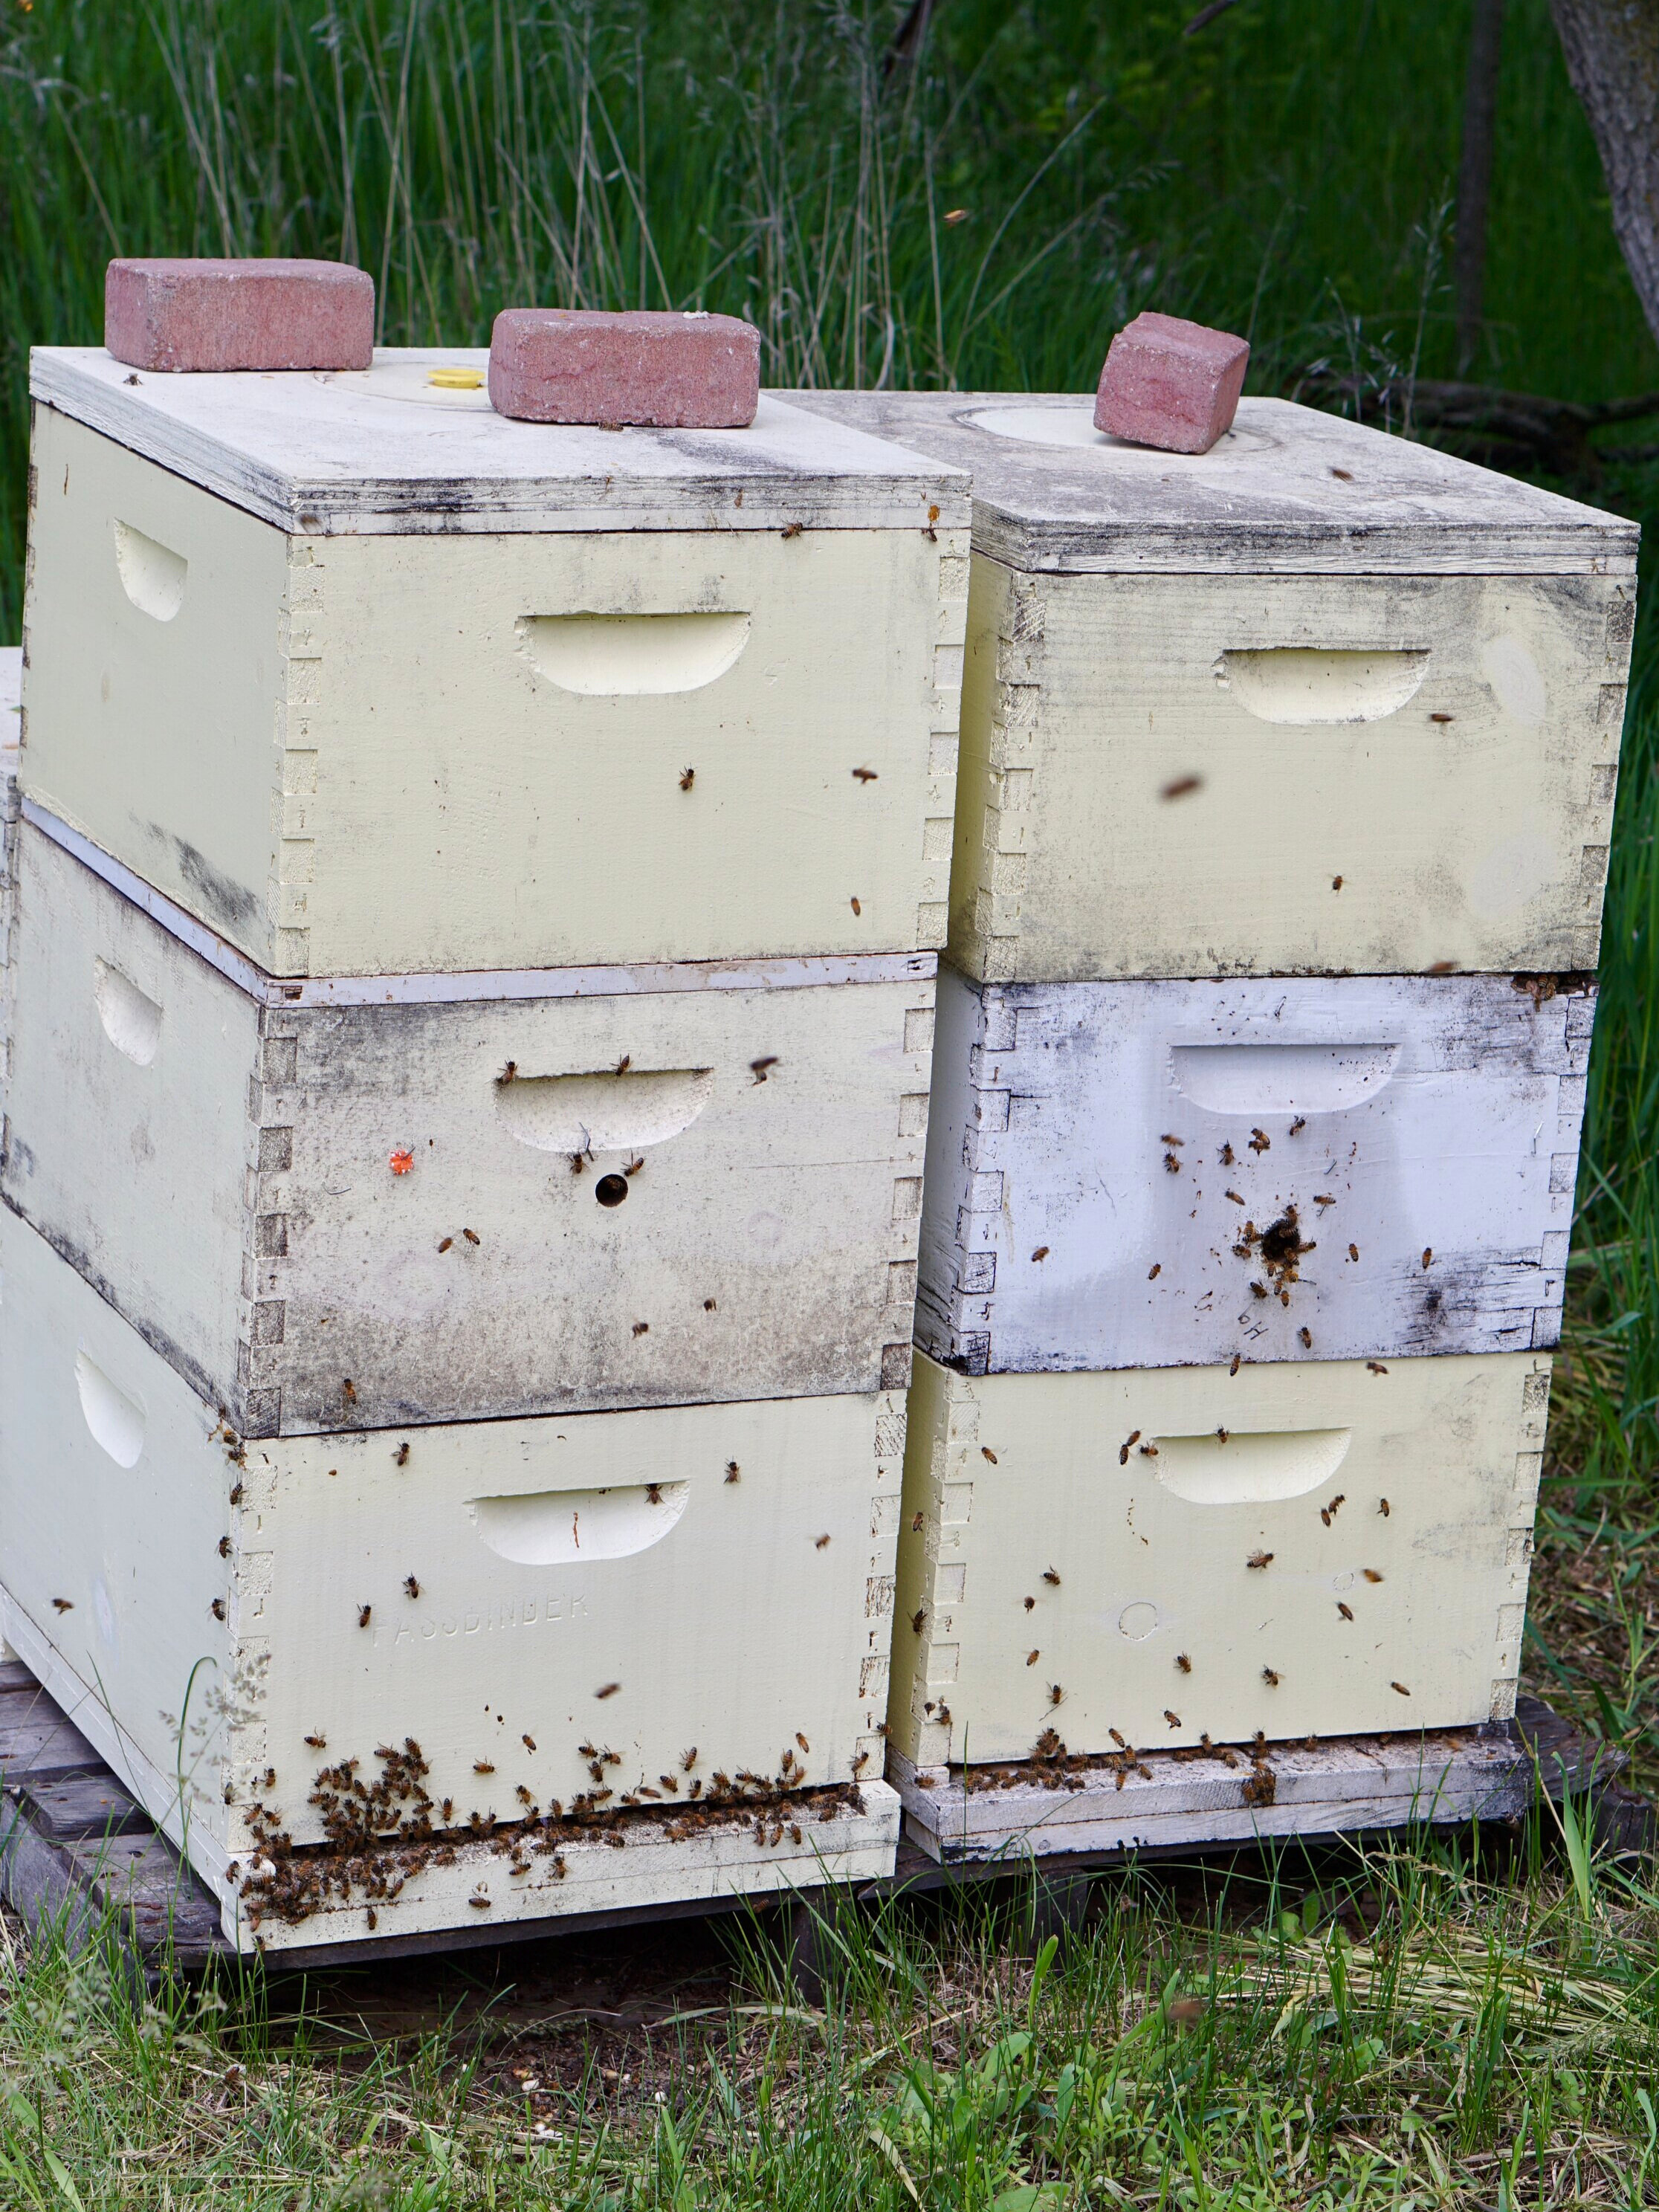
Builder hive on the left with developing queens in the top box and the builder queen isolated in the bottom boxes.
Isolate the queen in the builder hive. Now that you have painted the builder queen, you should be able to find her more quickly to isolate her and put her into a bottom brood chamber. A builder hive (also called a finisher hive) can finish up to 30 cells.
Add a frame of pollen and unsealed brood into the top box that will hold the cells before queen cells are added.
It is helpful to have a honey flow occurring at the same time as you are queen raising, but if there is too much of a honey flow, bees may create webbing between cells that can be damaging to the cells when trying to remove them. Place a super under the cell box if the honey flow is strong.
Remove queen cells from builder hive when they are 15 days old. We transport our ripe cells to the nuc-making yard in a “queen nuc”, which has 4 frames with brood and bees, sitting in the front seat beside us of the truck with the air conditioning going.
Put queen cells in orange queen cell protectors and push into the comb of a center frame in your new nuc. Be sure the nuc has nectar and pollen and at least two frames of brood that includes several stages of brood if possible (eggs, larvae, sealed brood), to enable overlapping generations of bees and a strong colony. It may take a few days (sometimes a few weeks) for a queen to mate and start laying eggs.
Carol inspecting each of the capped queen cells
Capped queen cells
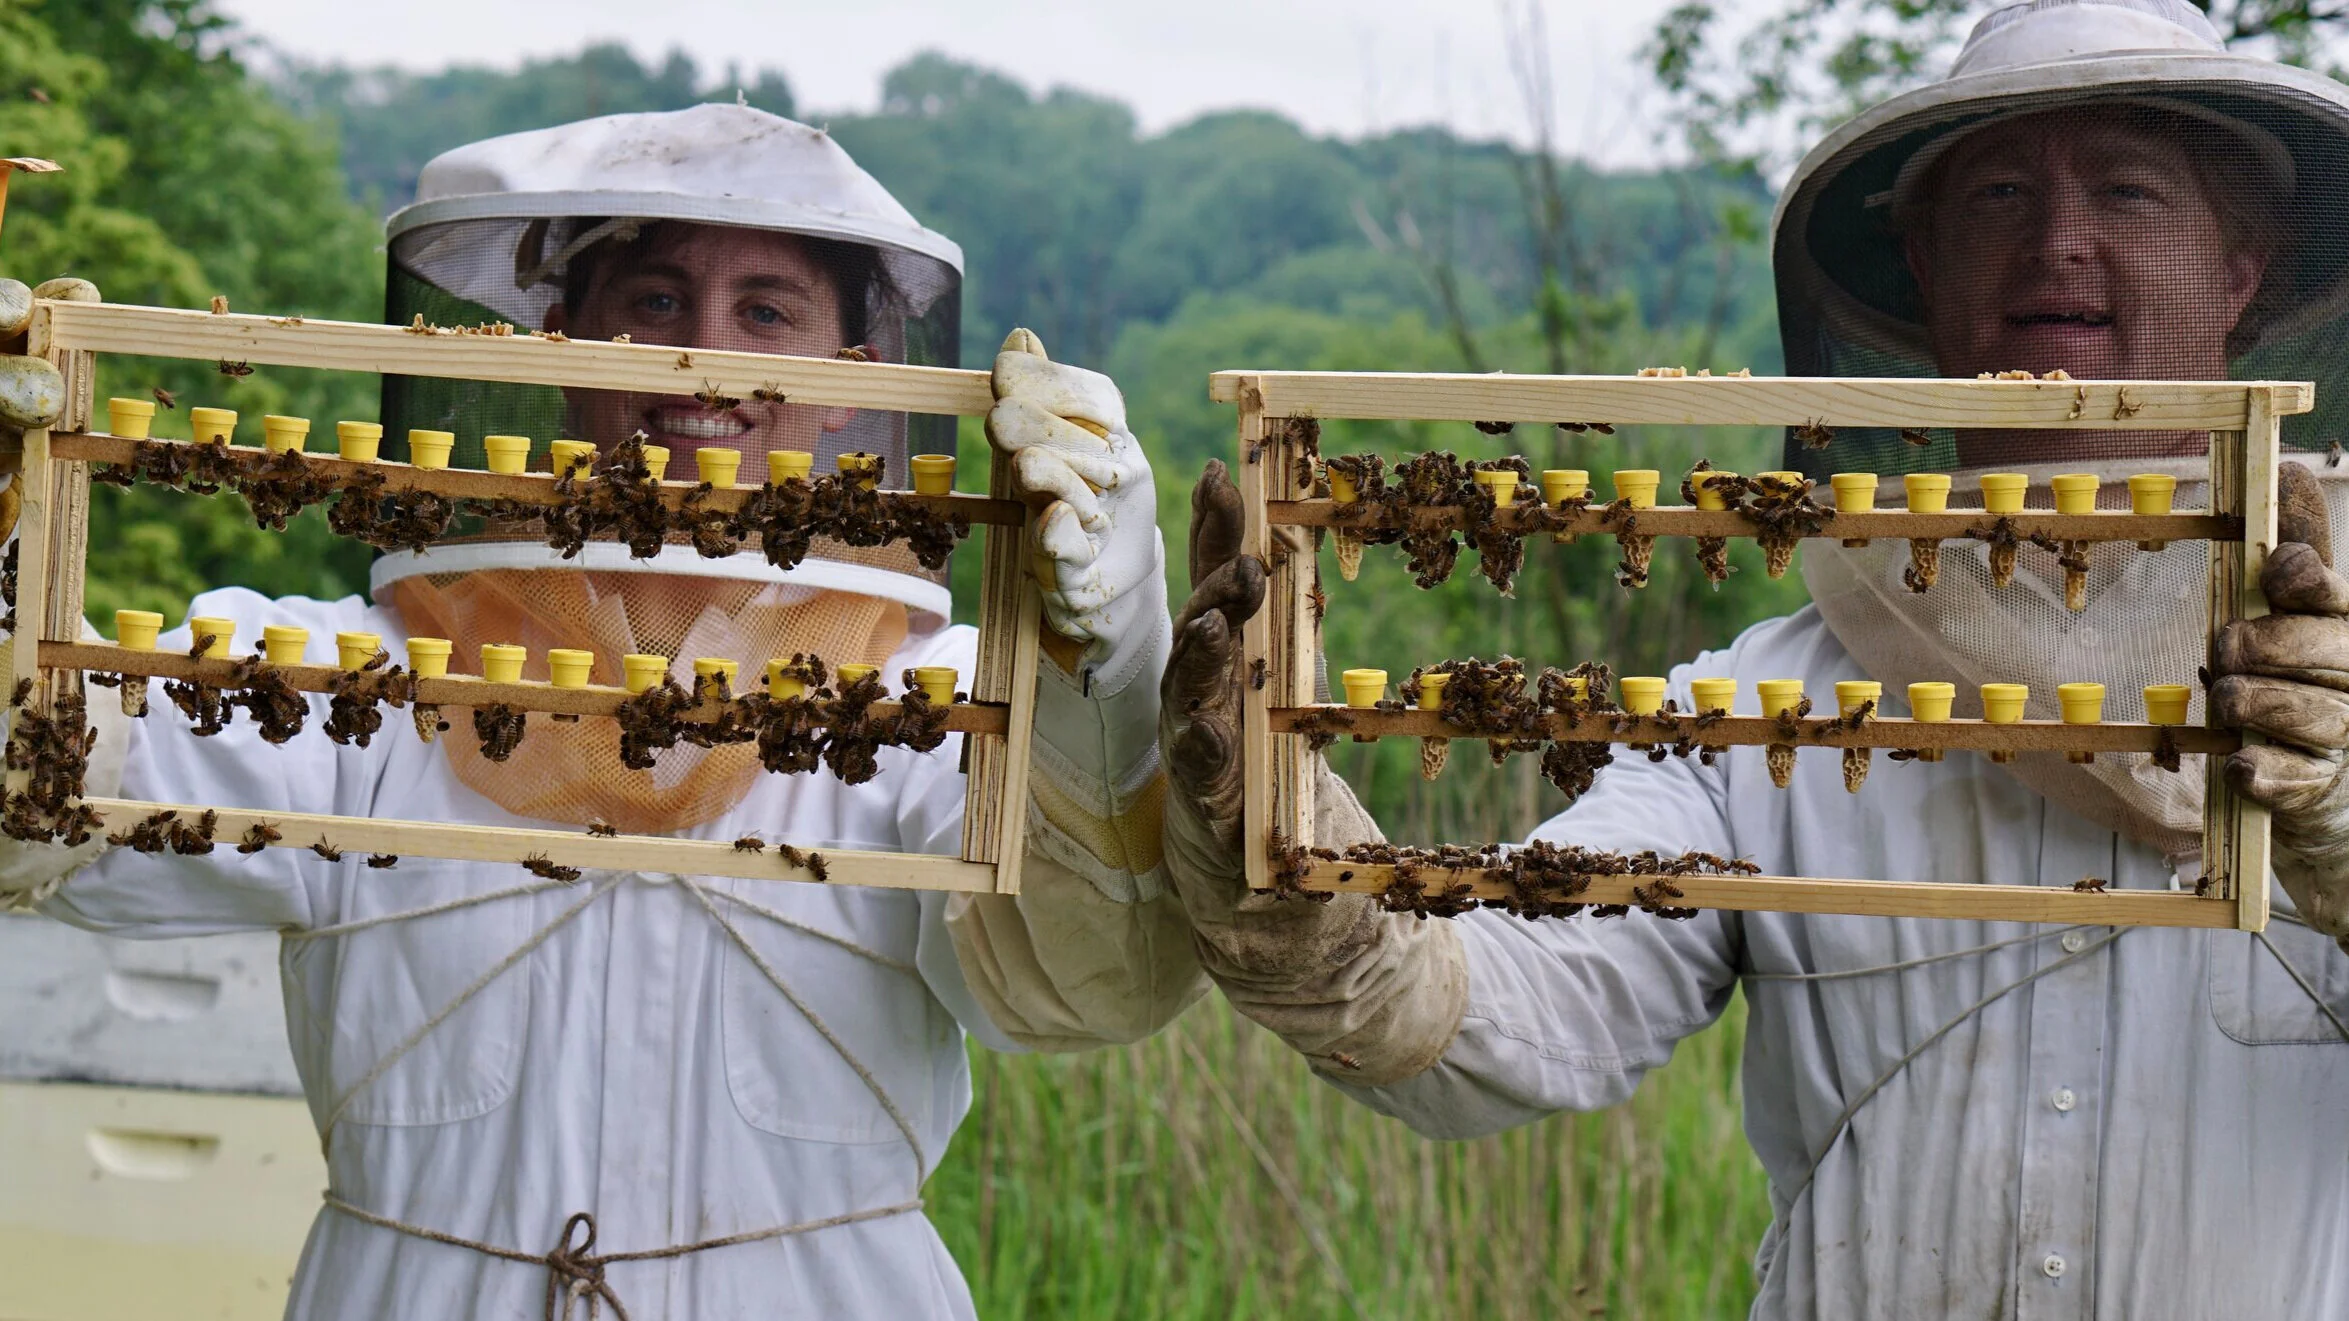
Carol and Brian Orth with finished queen cells: two happy beekeepers ready to start some new nuc hives!
FINAL TIP
Newly hatched virgin honey bee queen
Stay focused! There’s lots to keep track of but when you see your first laying queen, it makes it worthwhile!
Good Luck! Bob and Carol
References
Schlüns, H., Moritz, R. F. A. & Kryger, P. Multiple nuptial flights and the evolution of extreme polyandry in honeybee queens (Apis mellifera L.). Anim. Behav. 70, 125–131 (2005).